
2nd Craft Night Success - View our completed Burlap Banners
Posted by Teresa VB on Mar 04, 2016
We all love a good DIY project and at our most recent Craft Night here at Wall Decor Plus More, we created a burlap banner. Here is the step-by-step process:
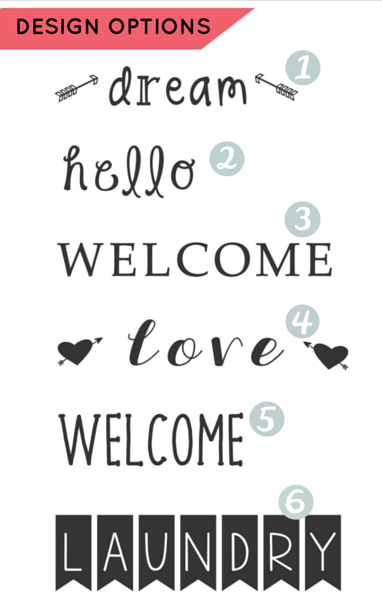
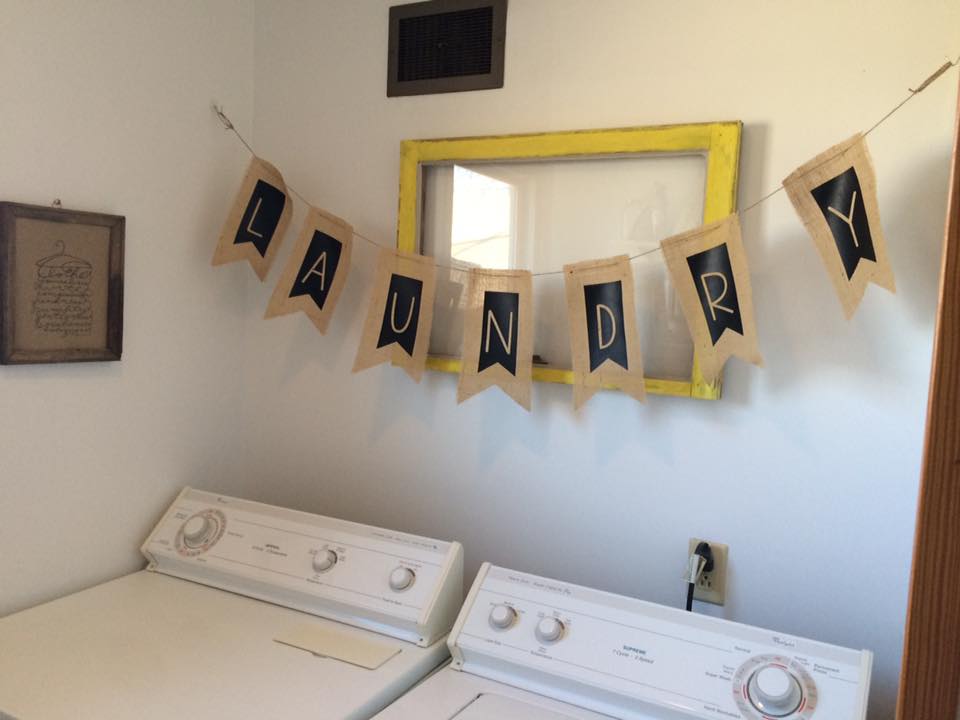
1. Choose your design. Each of our guests chose a design and color before arriving at craft night. The most popular was the Laundry Flag Banner.
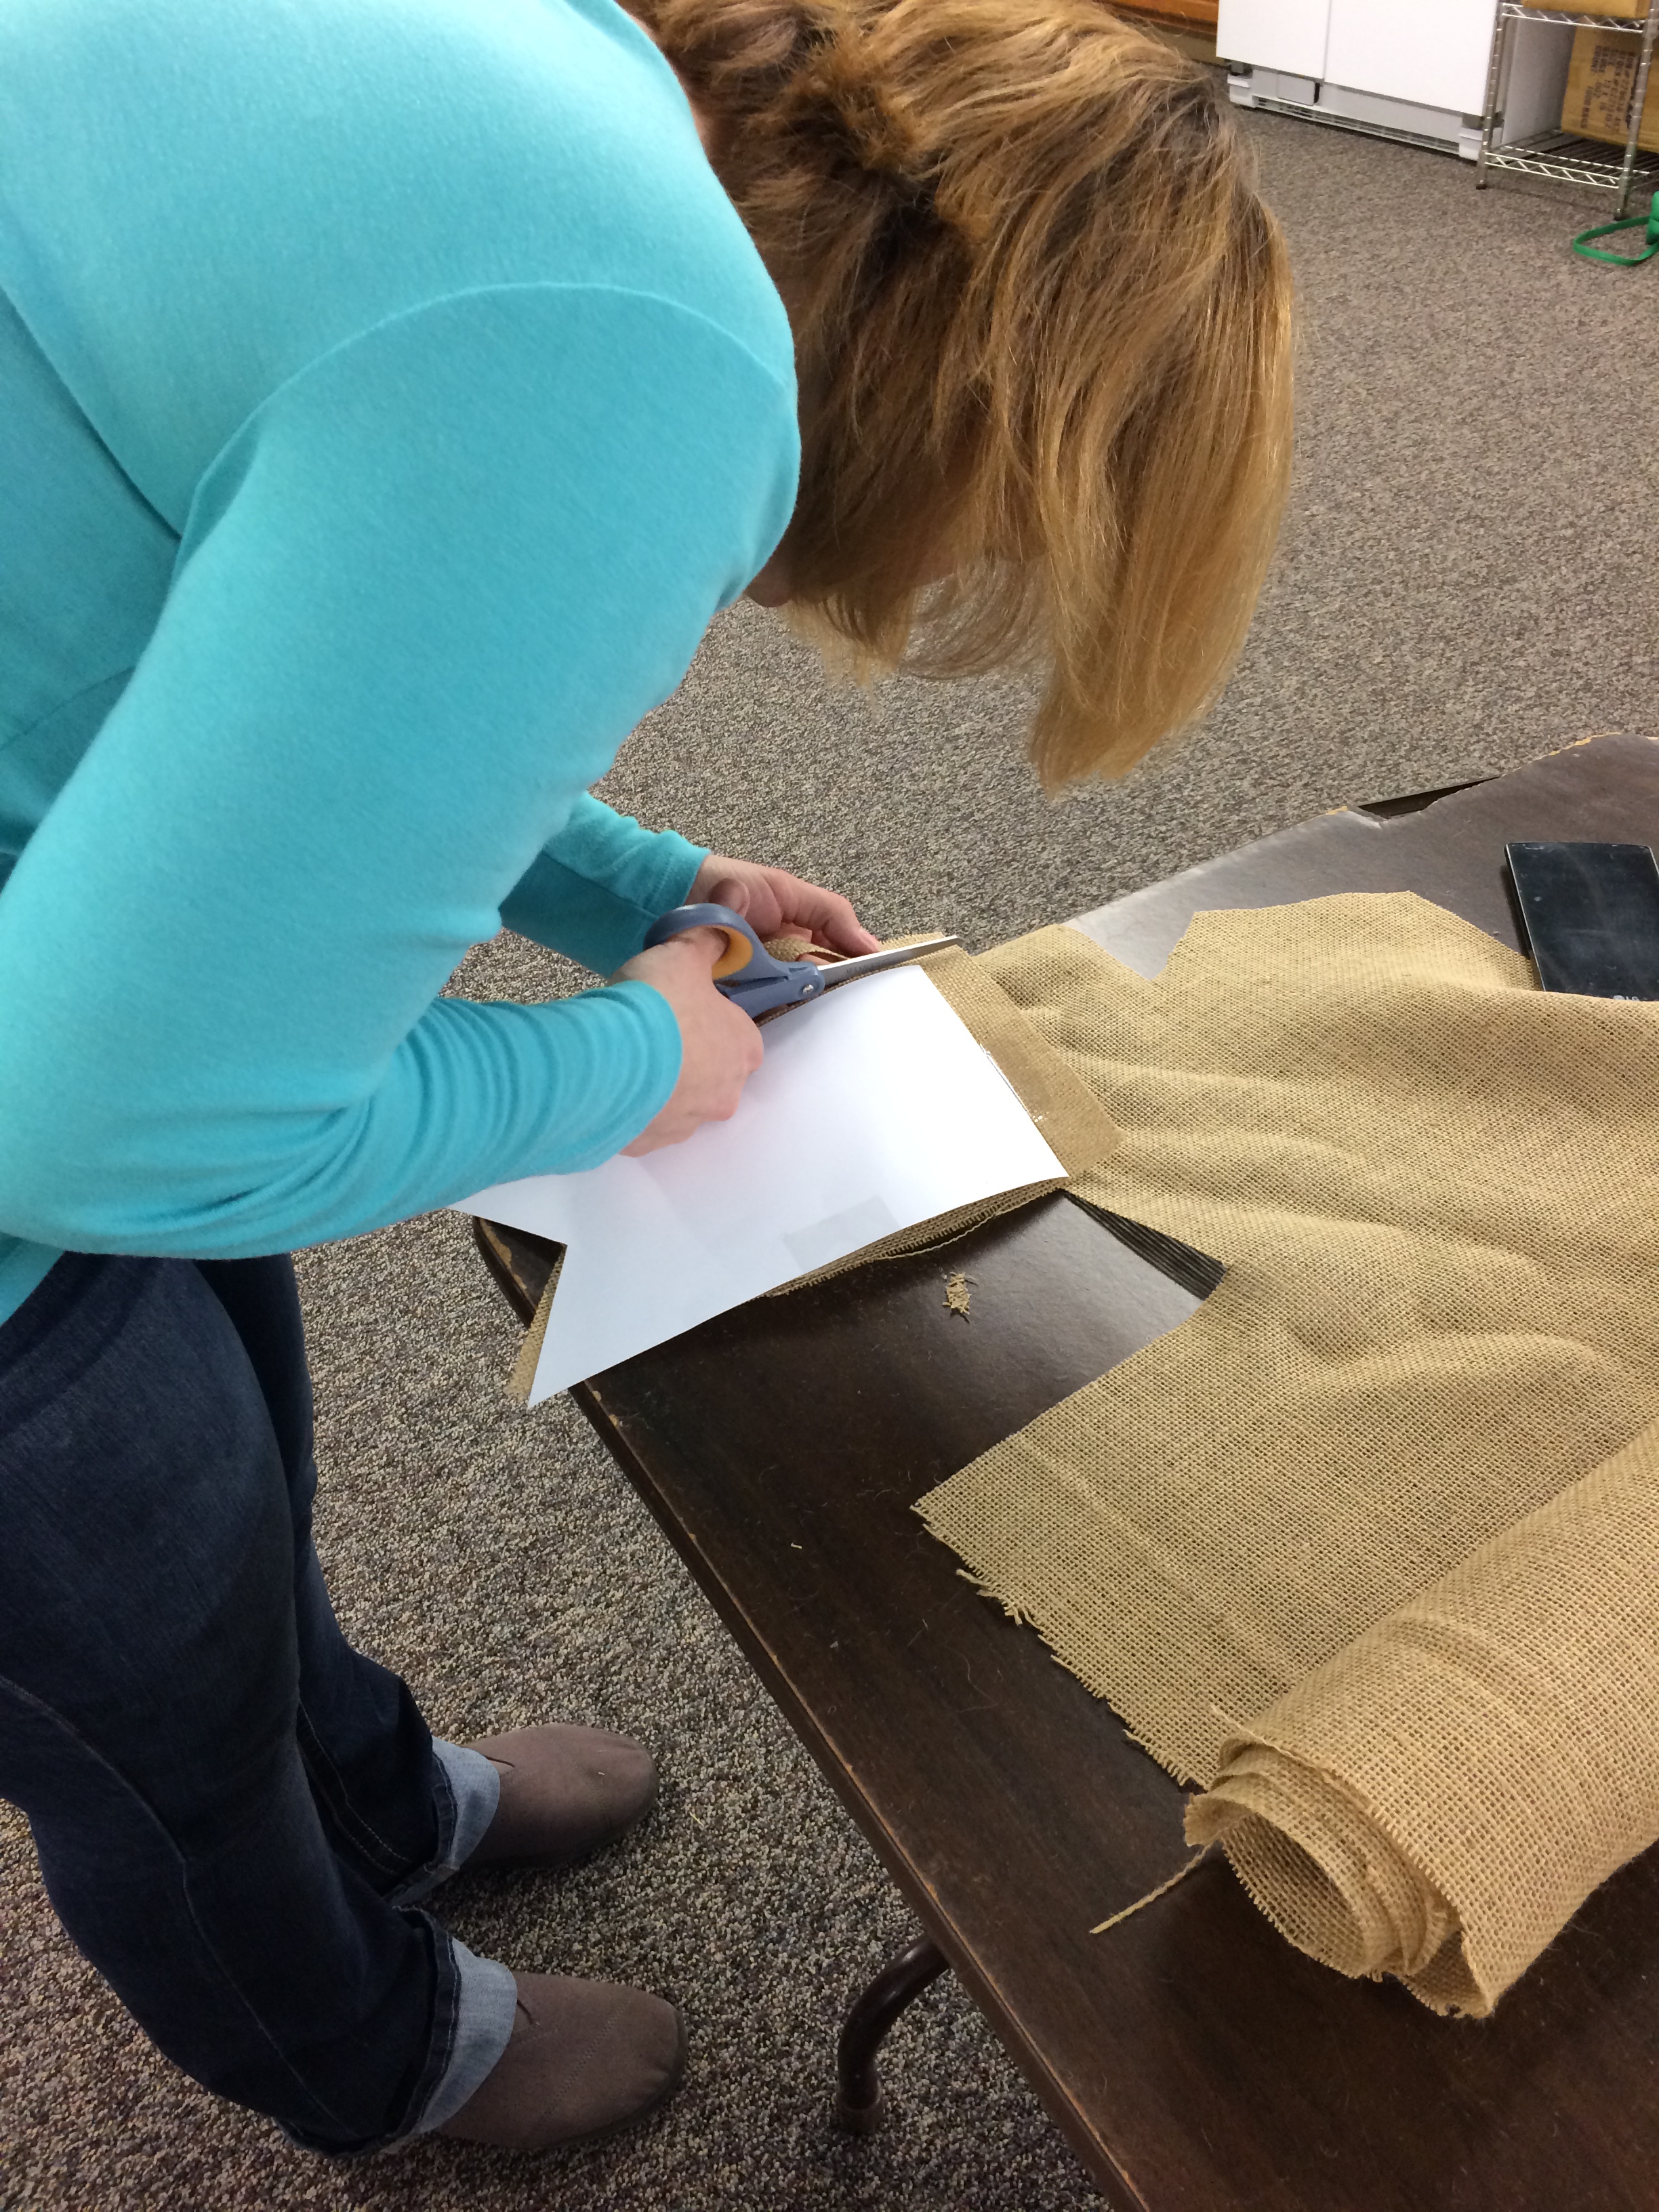
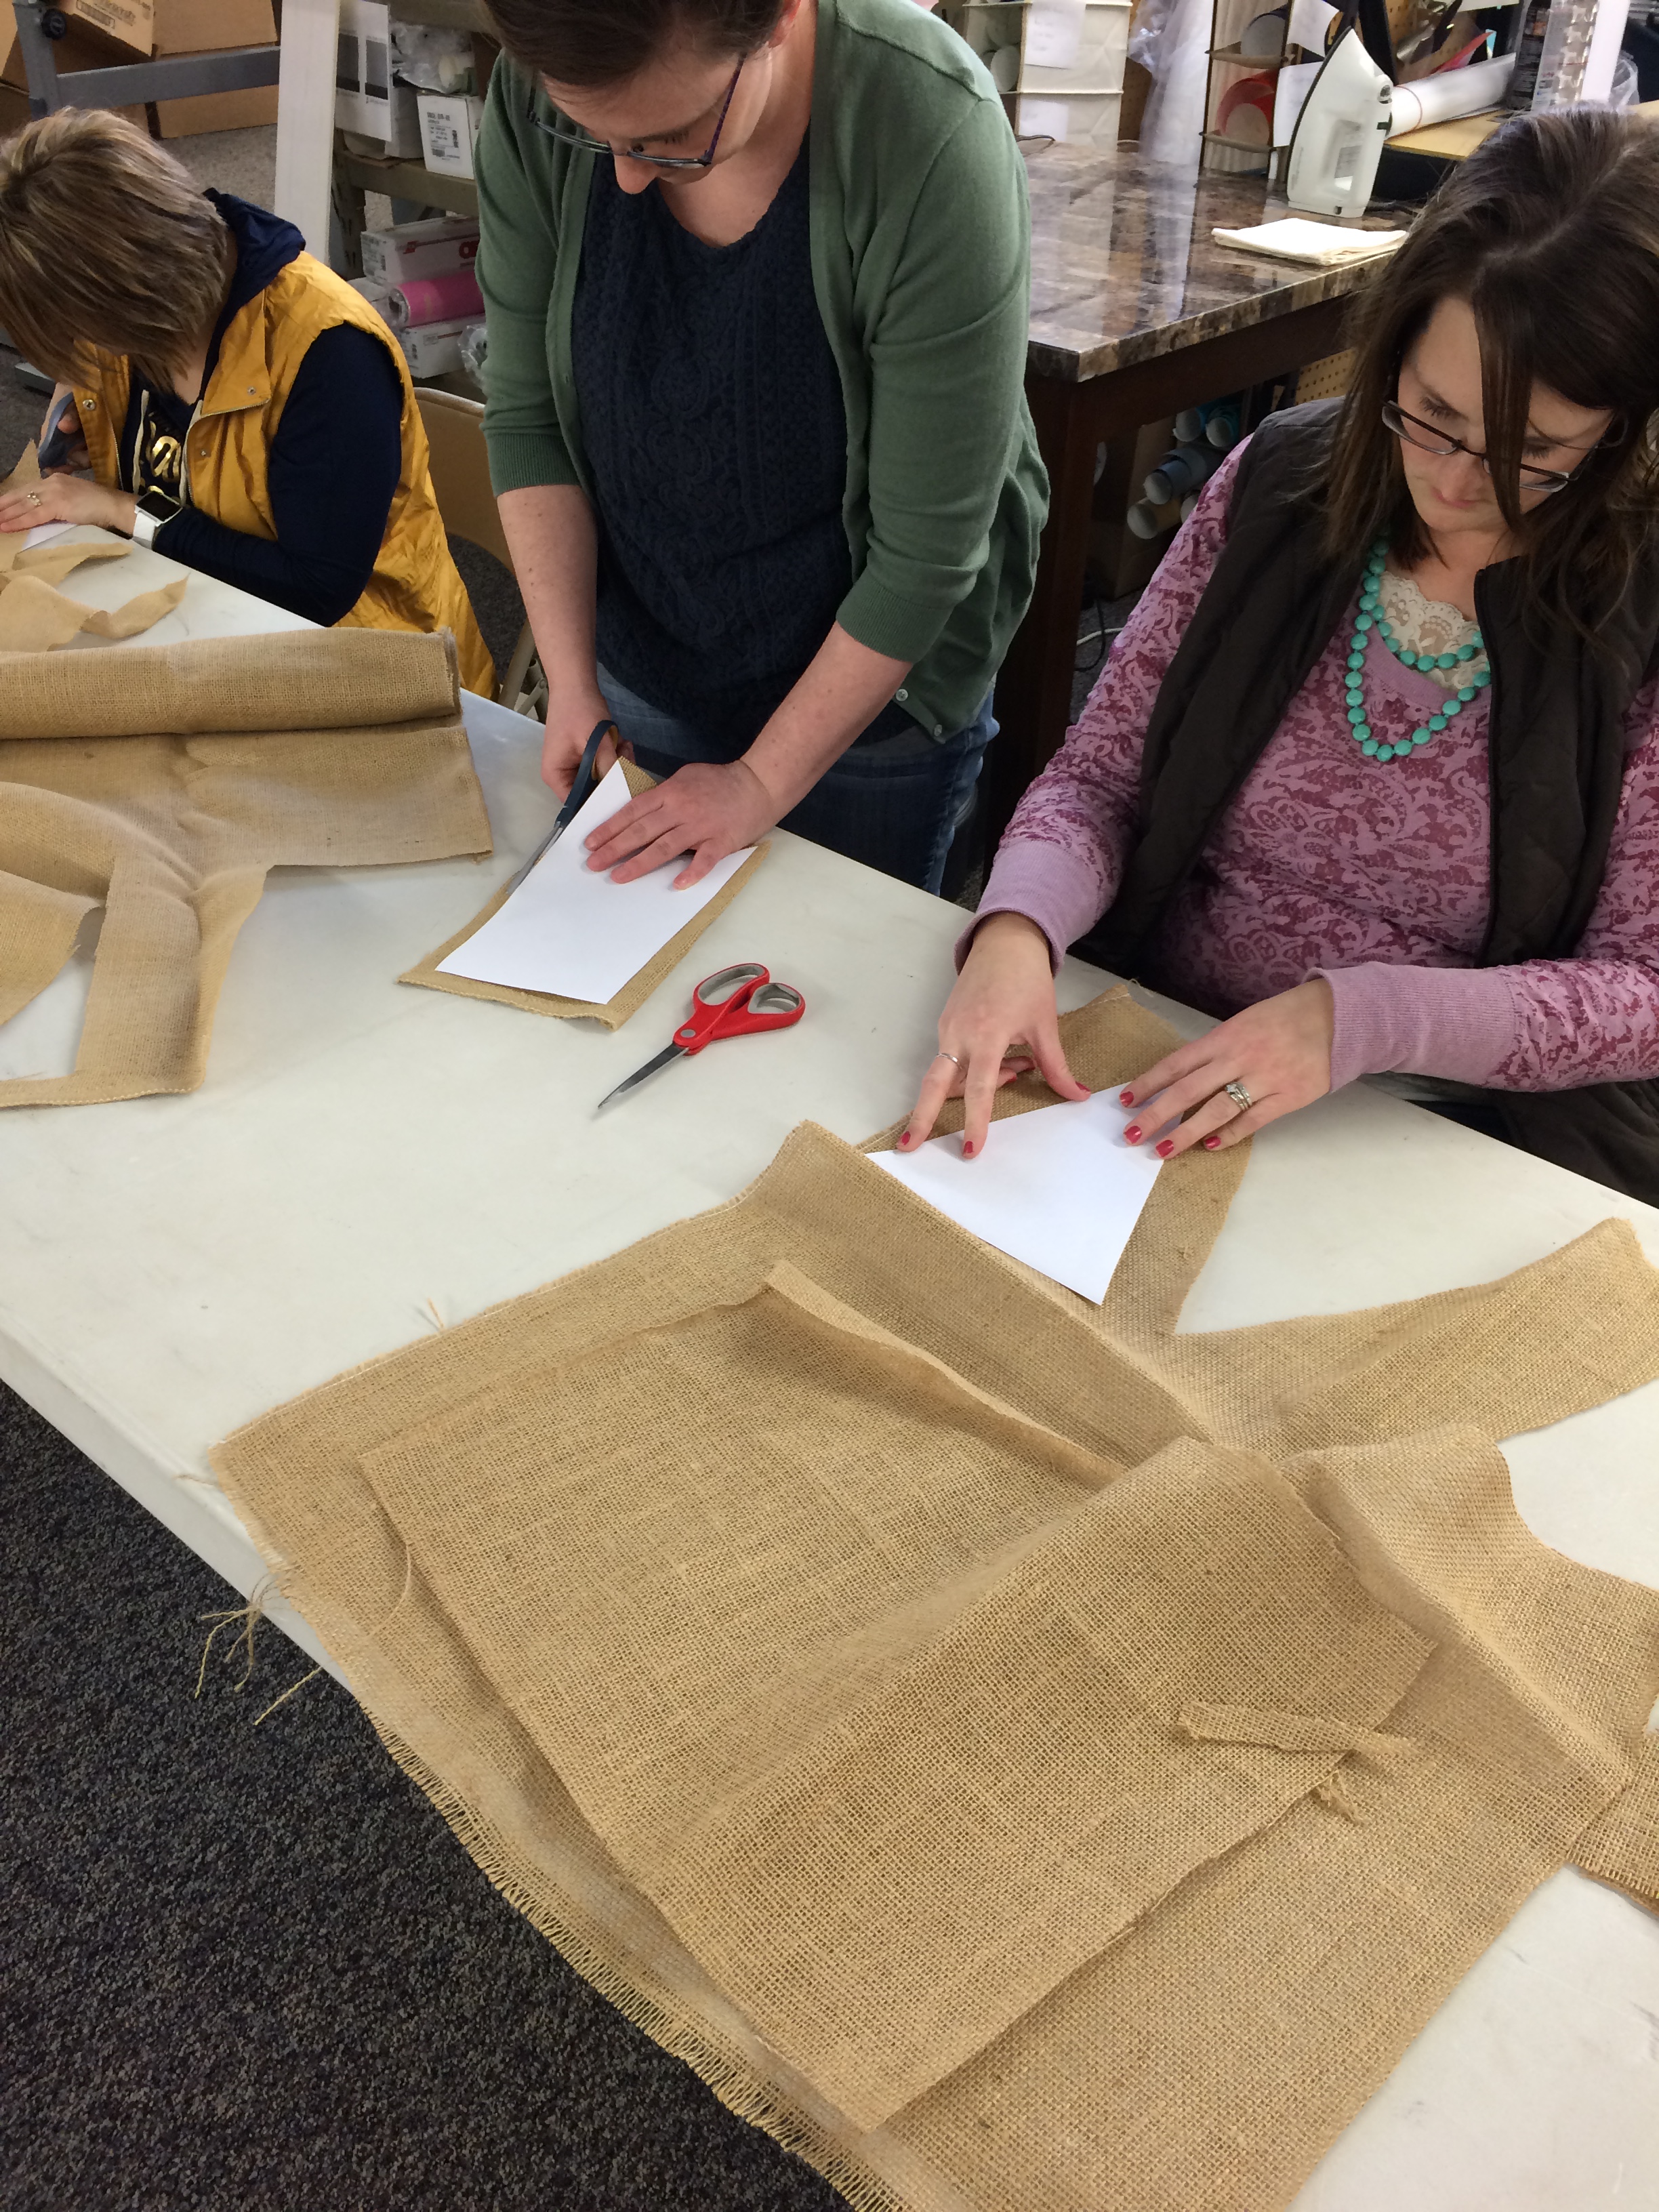
2. Choose your banner shape. We had two options, a triangle or rectangle flag shape. We created a template with cardstock and used this to cut each piece to our banner. One tip: make sure you are using a good pair of scissors! :)
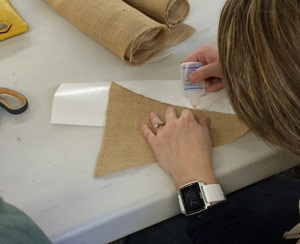
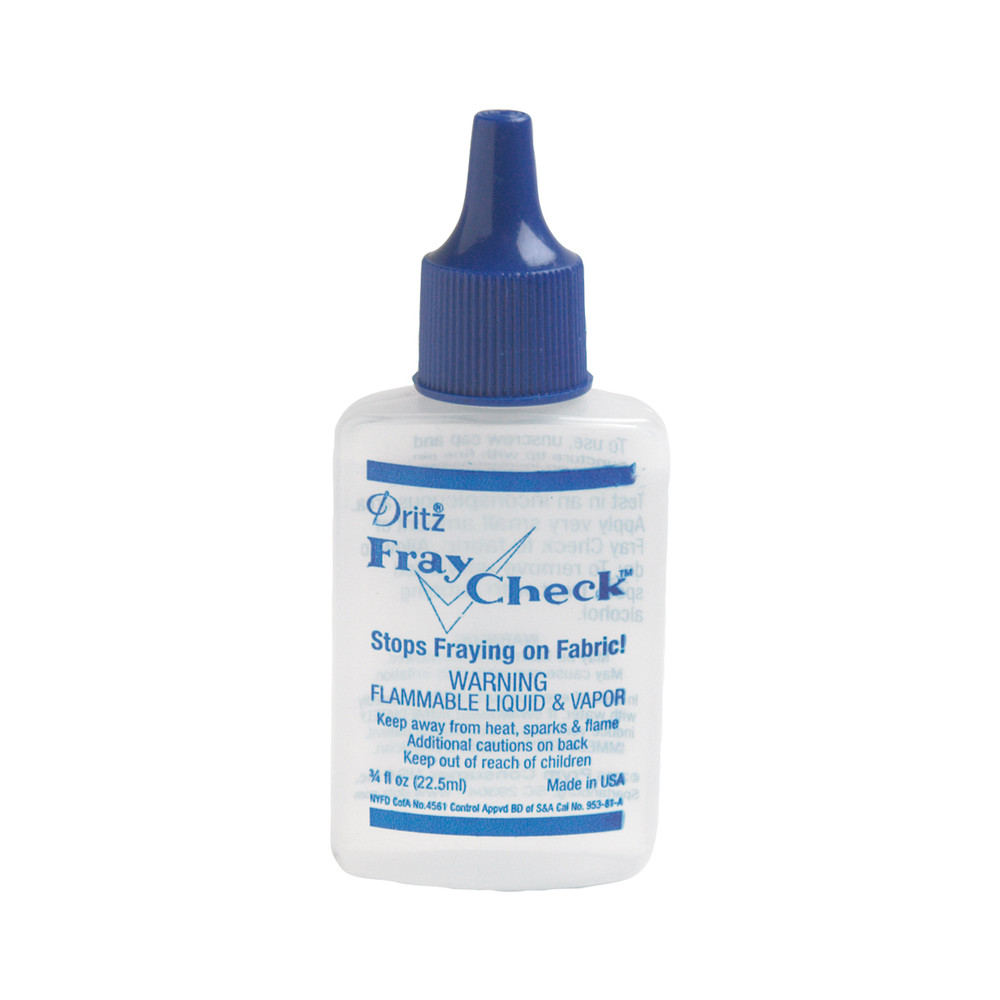
3. Time for Fray-Check. After the pieces were cut, we used Fray-Check to finish the edges and protect the burlap from unraveling any further. On the rectangle pieces we first did a fringe method to add a rustic edge - this turned out very cute! The burlap makes it easy to find a straight edge, you just need to pull out a few strands until you are left with one full length string in tact. Remove the excess strands and trim about 1/4" or so away depending on how much fringe you like.

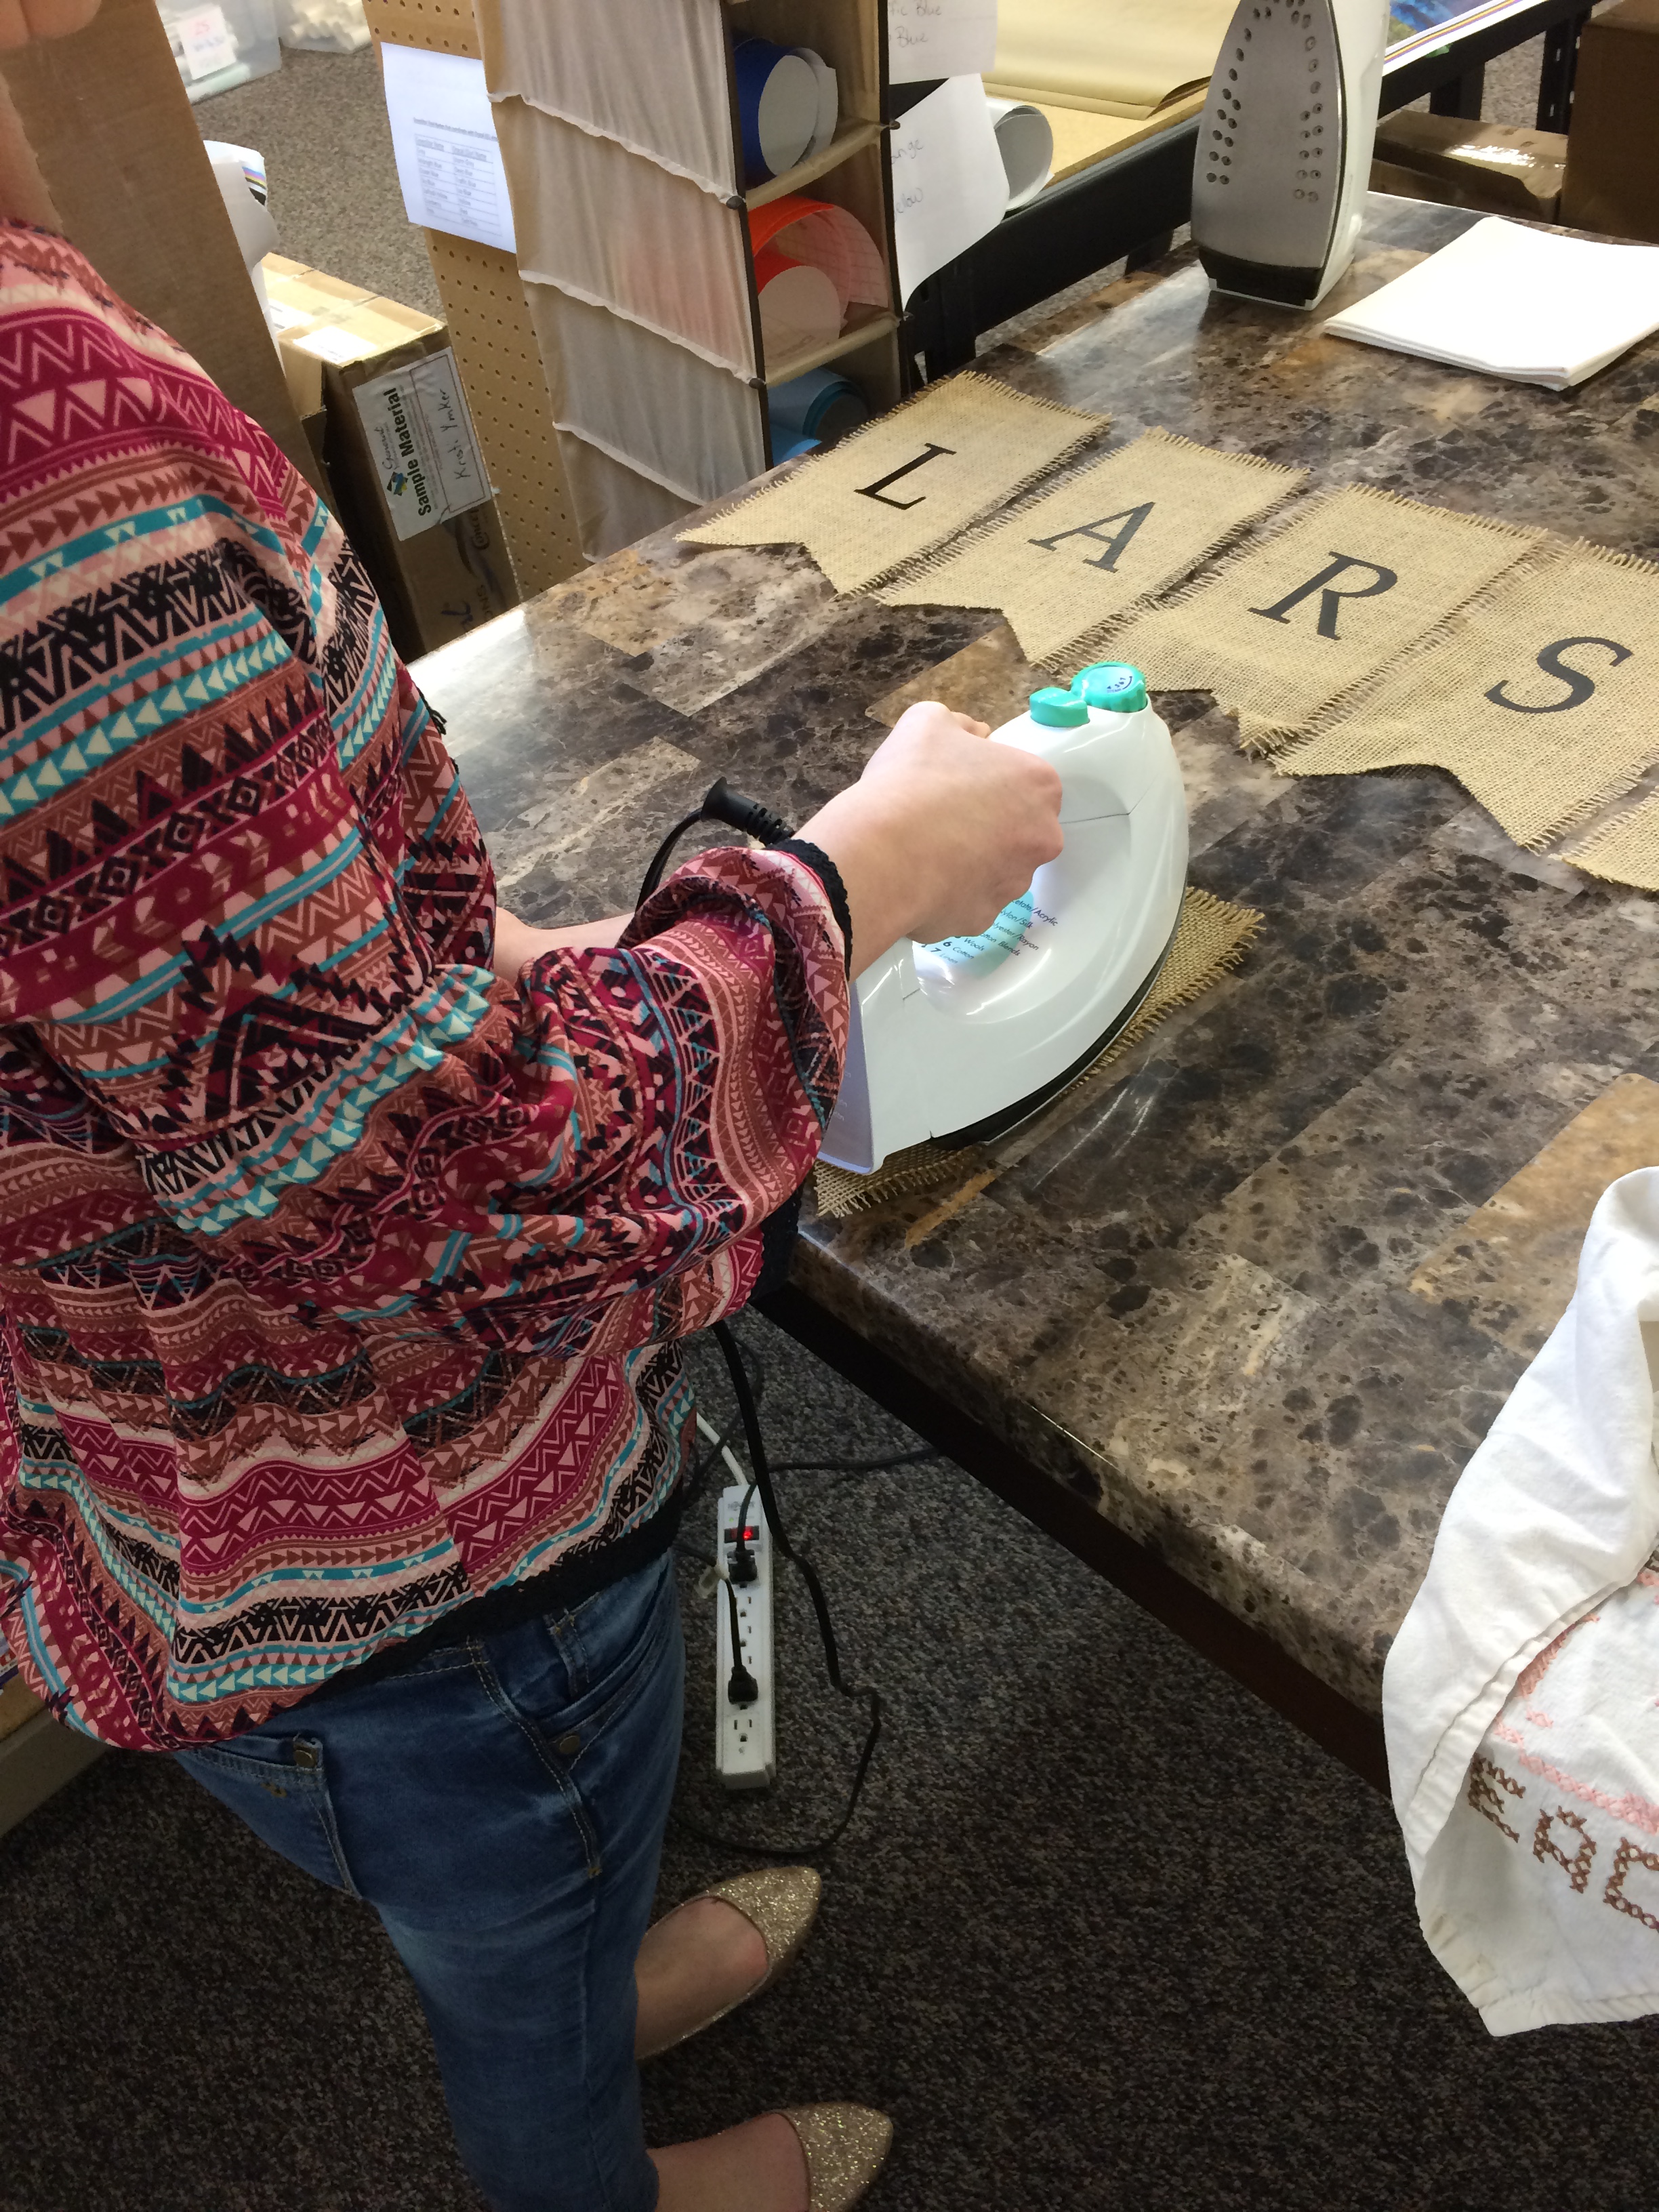
4. Apply the sticker. We used our Heat Transfer Vinyl so an iron was needed for application. We first applied medium heat (cotton setting) to the top plastic layer, than removed that when vinyl was adhered. Next, we covered the design with a light towel and applied additional heat to finish the application to the burlap.
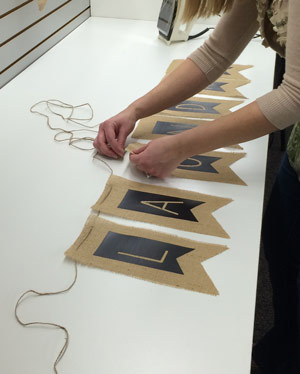
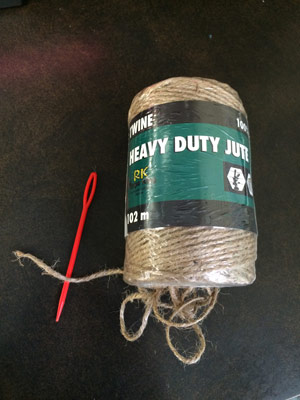
5. Hang it up. The final step is to finish your banner with twine for hanging. We used embroidery needles to thread right through the burlap. We suggest laying your banner pieces in order on the table so you don't make a spelling mistake. It may take a few under/over tries to achieve the look your after, attempt on your first piece until satisfied.
Note: We tried using hot glue and folding the burlap a 1/2" over, but this process was a gluey mess and the end result did not give us a very clean edge. Threading the twine is much simpler and fits the rustic style of the banner.
Most importantly...HAVE FUN! It does not have to be perfect - remember it's hand made and each banner will be unique!
Check out these adorable creations...


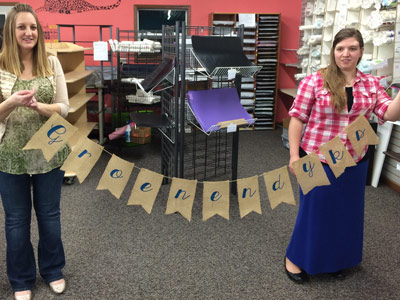
Contact us for your vinyl stickers to help you in creating your DIY projects!