Application Instructions for Wall Decals from Wall Decor Plus More
These instructions are for Wall Decal Quotes, Lettering,, and anything that has the top transfer tape film layer.
Vinyl Decals can be applied to most surfaces. You may find, though, that some surfaces, such as porous or chalk-like surfaces (such as stone) and flat painted surfaces are more difficult. No-VOC paints are NOT compatible with vinyl wall decals.
Wall Decals are so easy to put up! Just follow our simple instructions. Please keep in mind that some of the intricate designs with tiny pieces or fine lines are more challenging and require more patience.
Please make sure the surface is dry and clean. Temperatures should be between 50 and 95 degrees. If the walls have been painted recently, wait at least 2 weeks before applying the wall decals to allow the paint to cure properly.
You will need a credit card or squeegee, masking tape, tape measure and patience. Before beginning, lay the vinyl wall decal on a flat surface with the original backing side down, using the credit card or similar tool, rub over the top semi-transparent tape layer to remove any air bubbles that may have formed in shipping or temperature changes. *If you purchased a two-color decal, we suggest arranging your stickers in order before you begin the following steps.
There are 3 parts to your wall decal: 1. The backing paper. 2. The vinyl sticker 3. The top layer is a semi-transparent transfer tape.
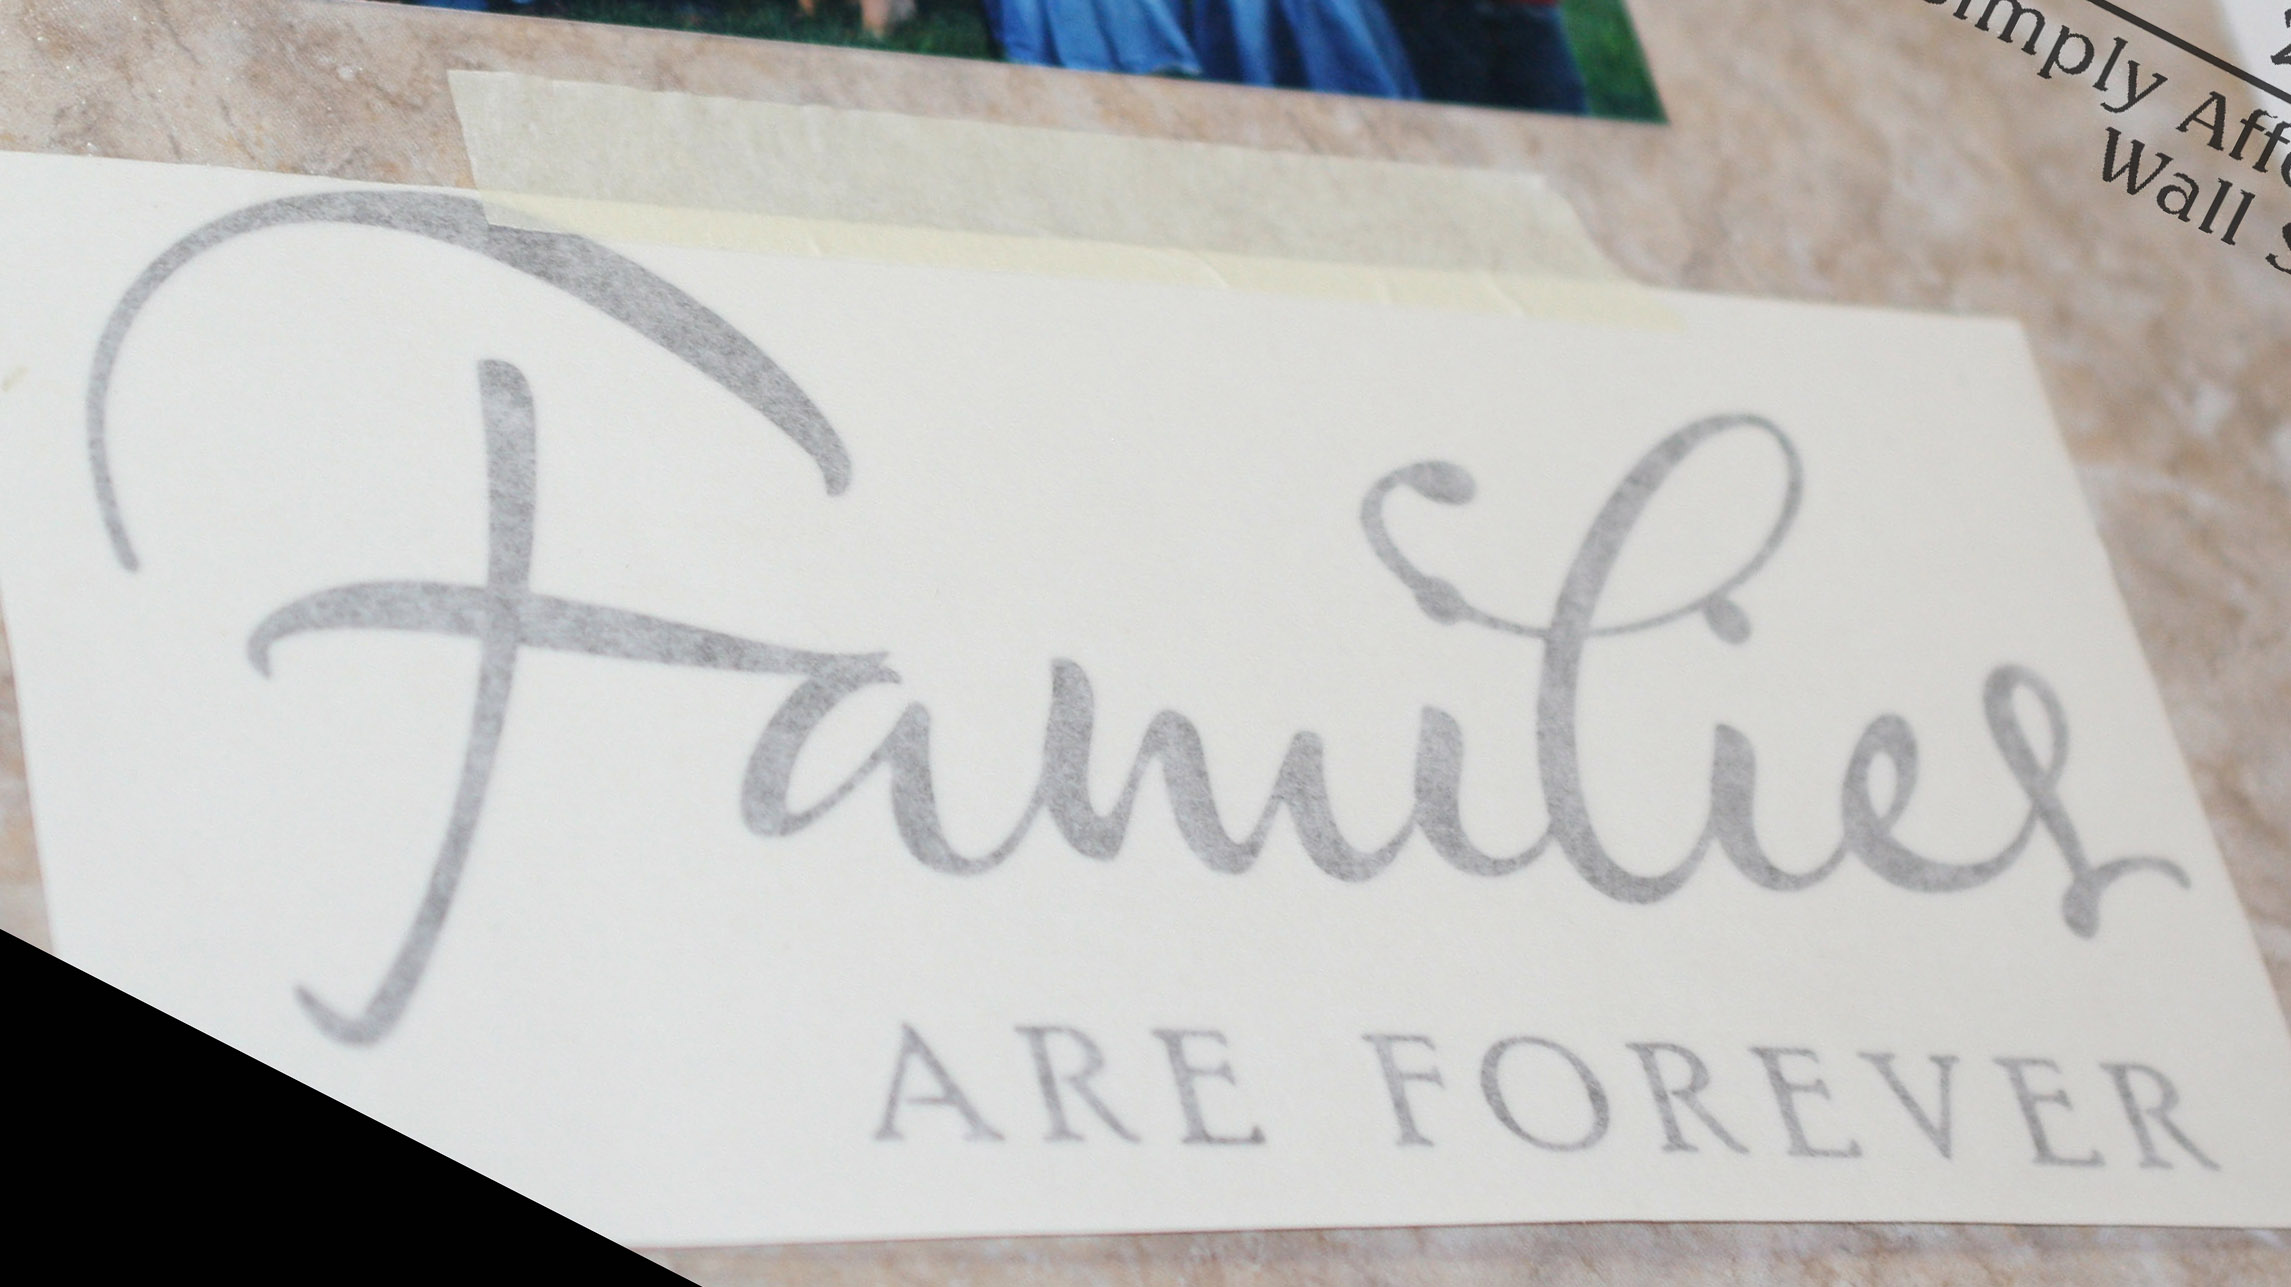 1. Position the lettering on your wall or surface. Using the bottom of letters, measure to make sure your lettering is straight. Use the masking tape to tape your design in place.
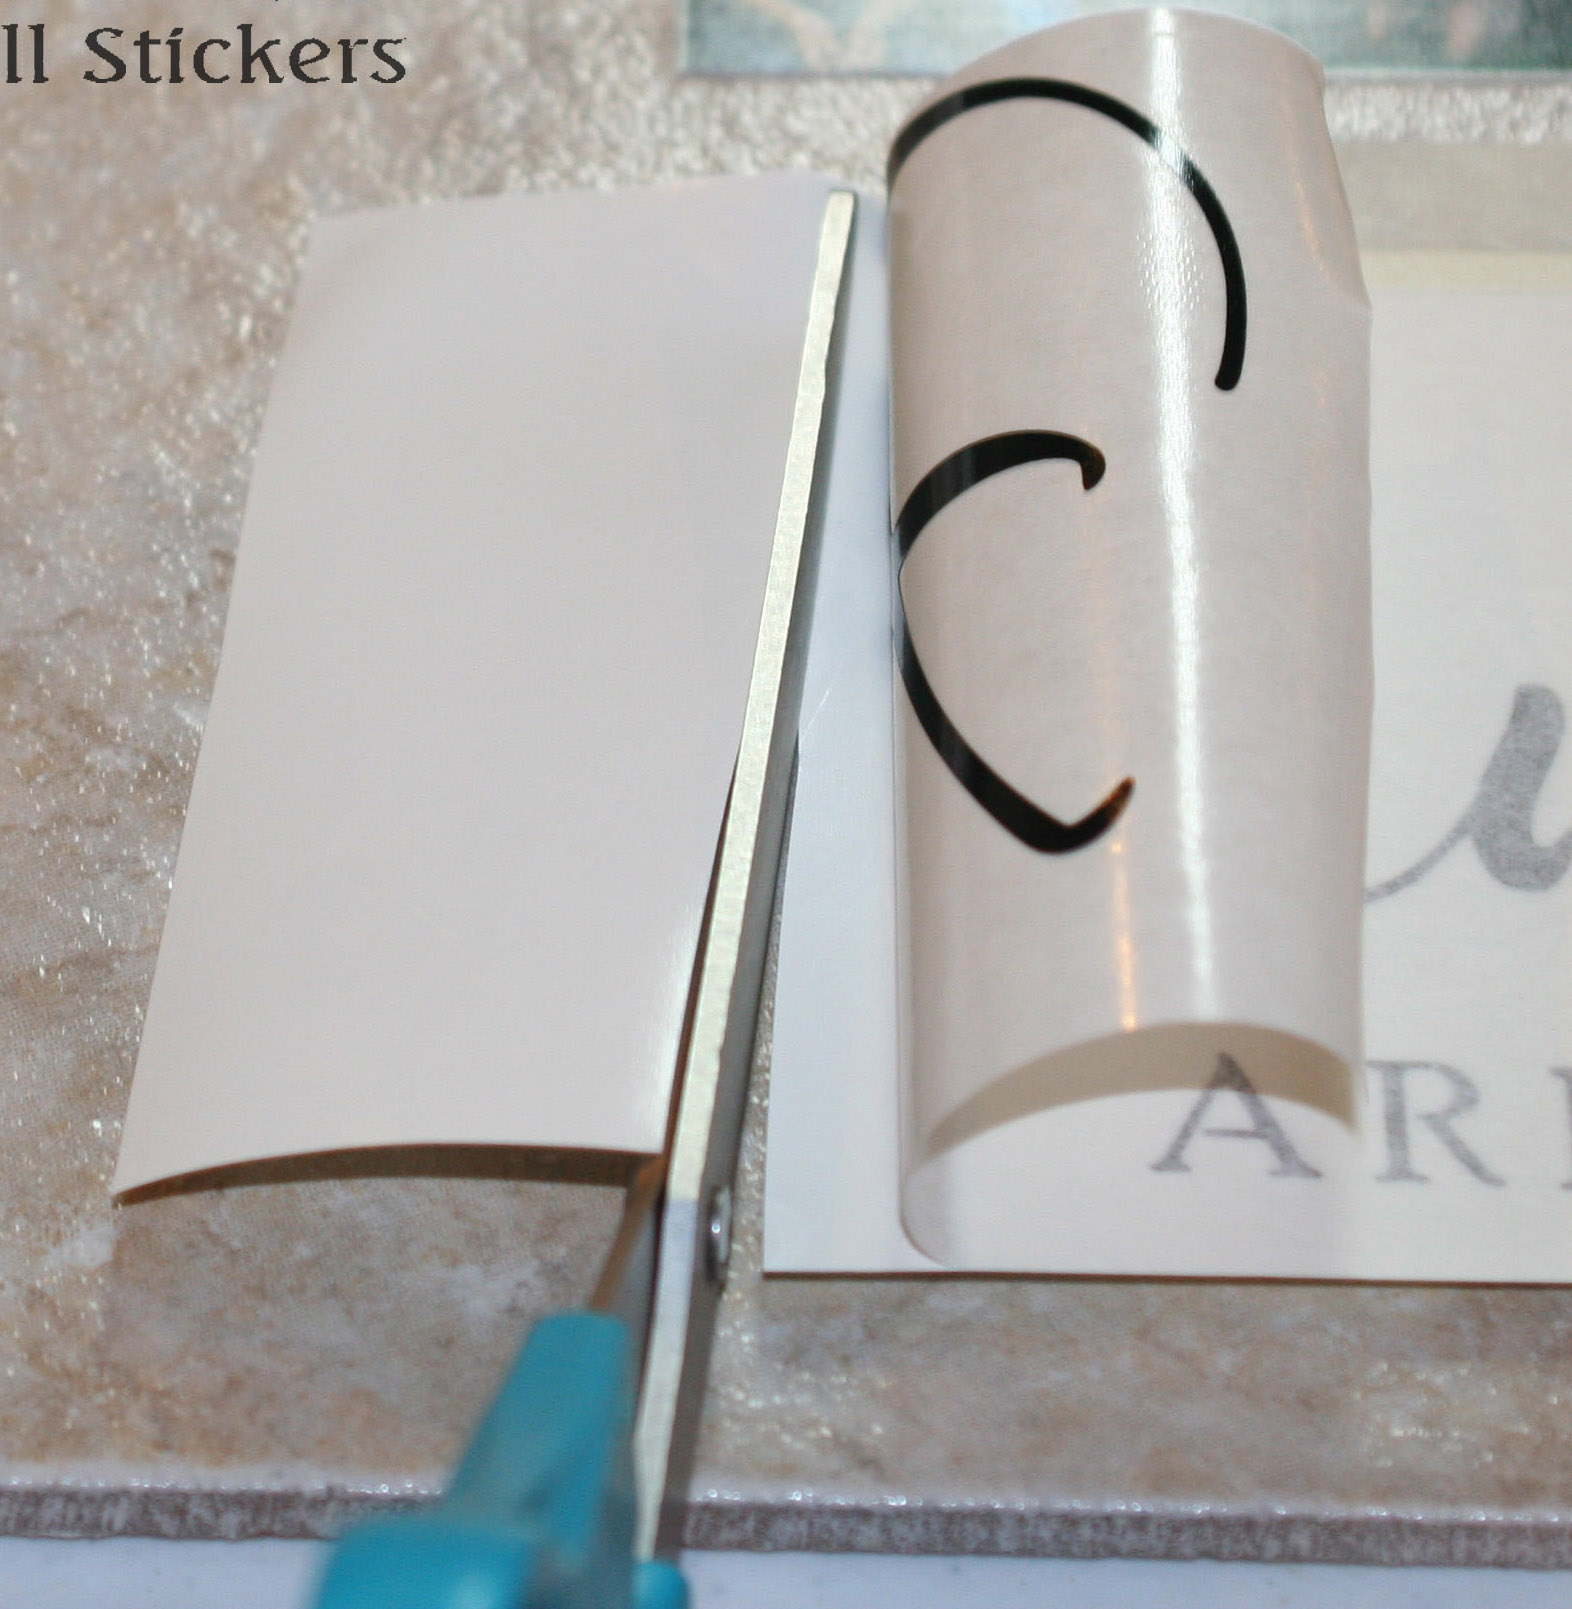
2. Peel the backing off about 1/4 of the way on one side. Cut that backing off, as shown in image #2. Now apply this piece to your surface as shown in picture #3. Now your design is partially on the wall and is less likely to move when you work with the larger piece.
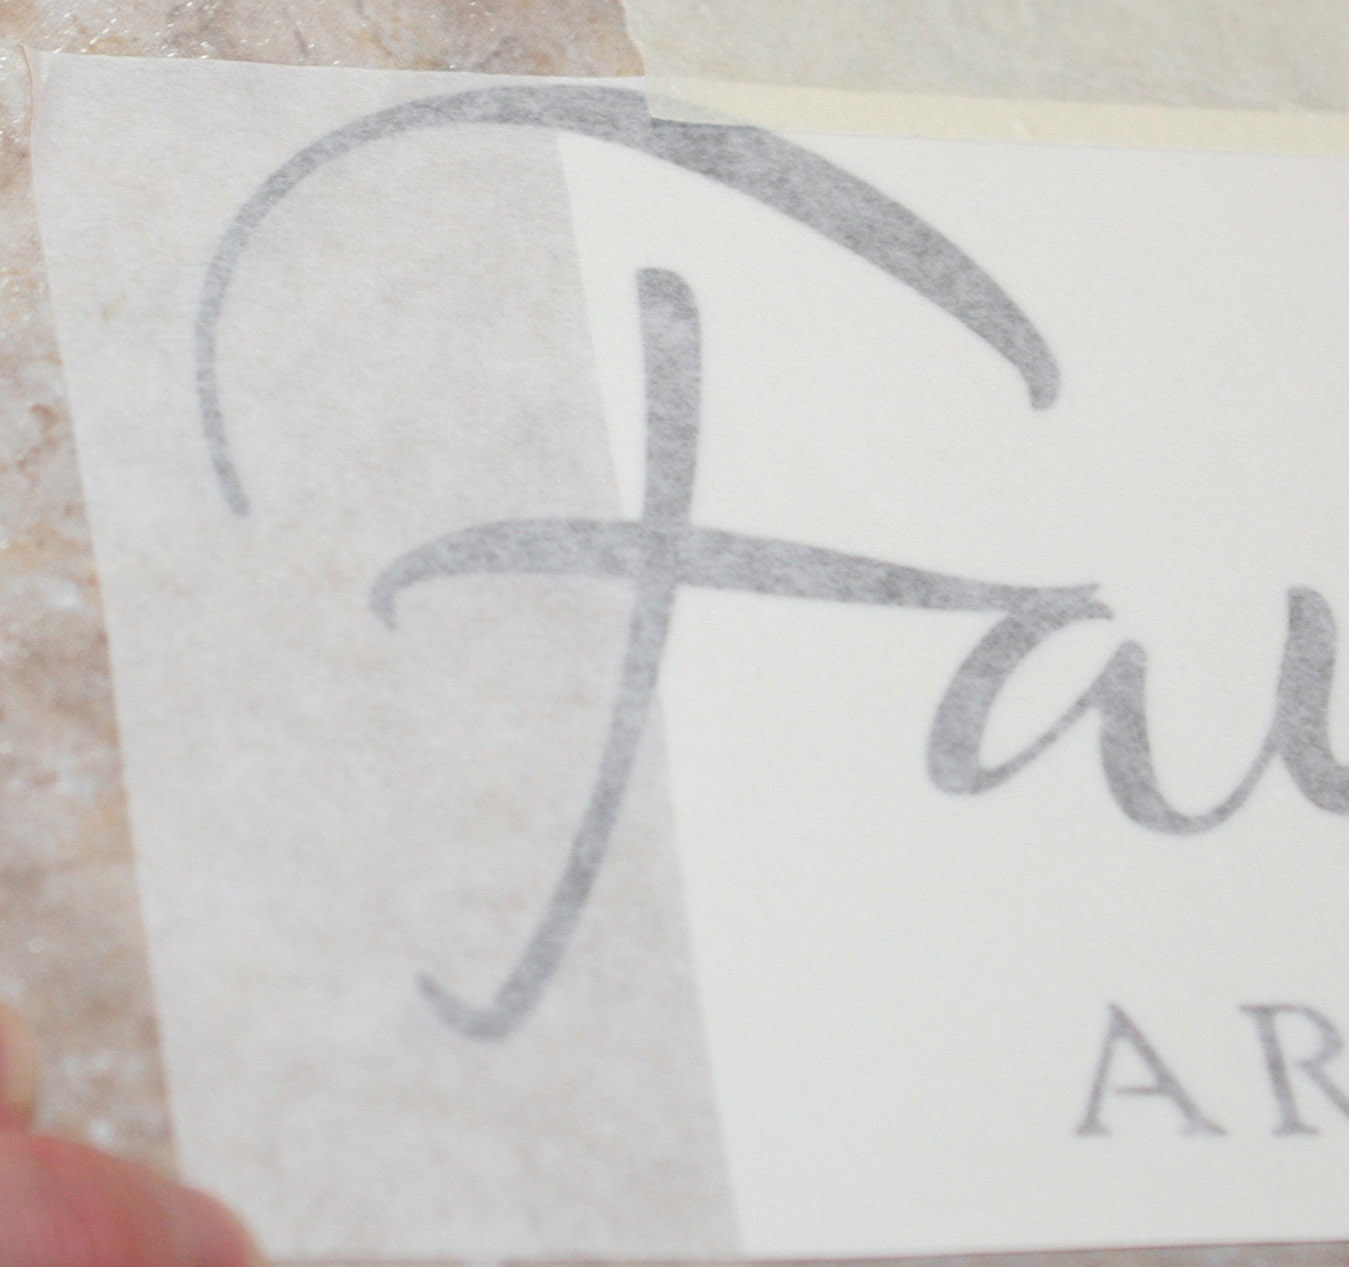
4. Now work from the other side, peeling the rest of the backing off. Work slowly so you can catch any pieces that may not be coming with the semi-transparent sticky tape. If pieces are staying with the backing, manipulate and press it with your fingers to aid the process. (This process generally works better when you pull the backing away from the design rather than pulling the design away from the backing paper.)
Gently lay your entire design on the wall. Firmly rub the semi-transparent layer to secure your lettering to the wall with the included card or squeegee.
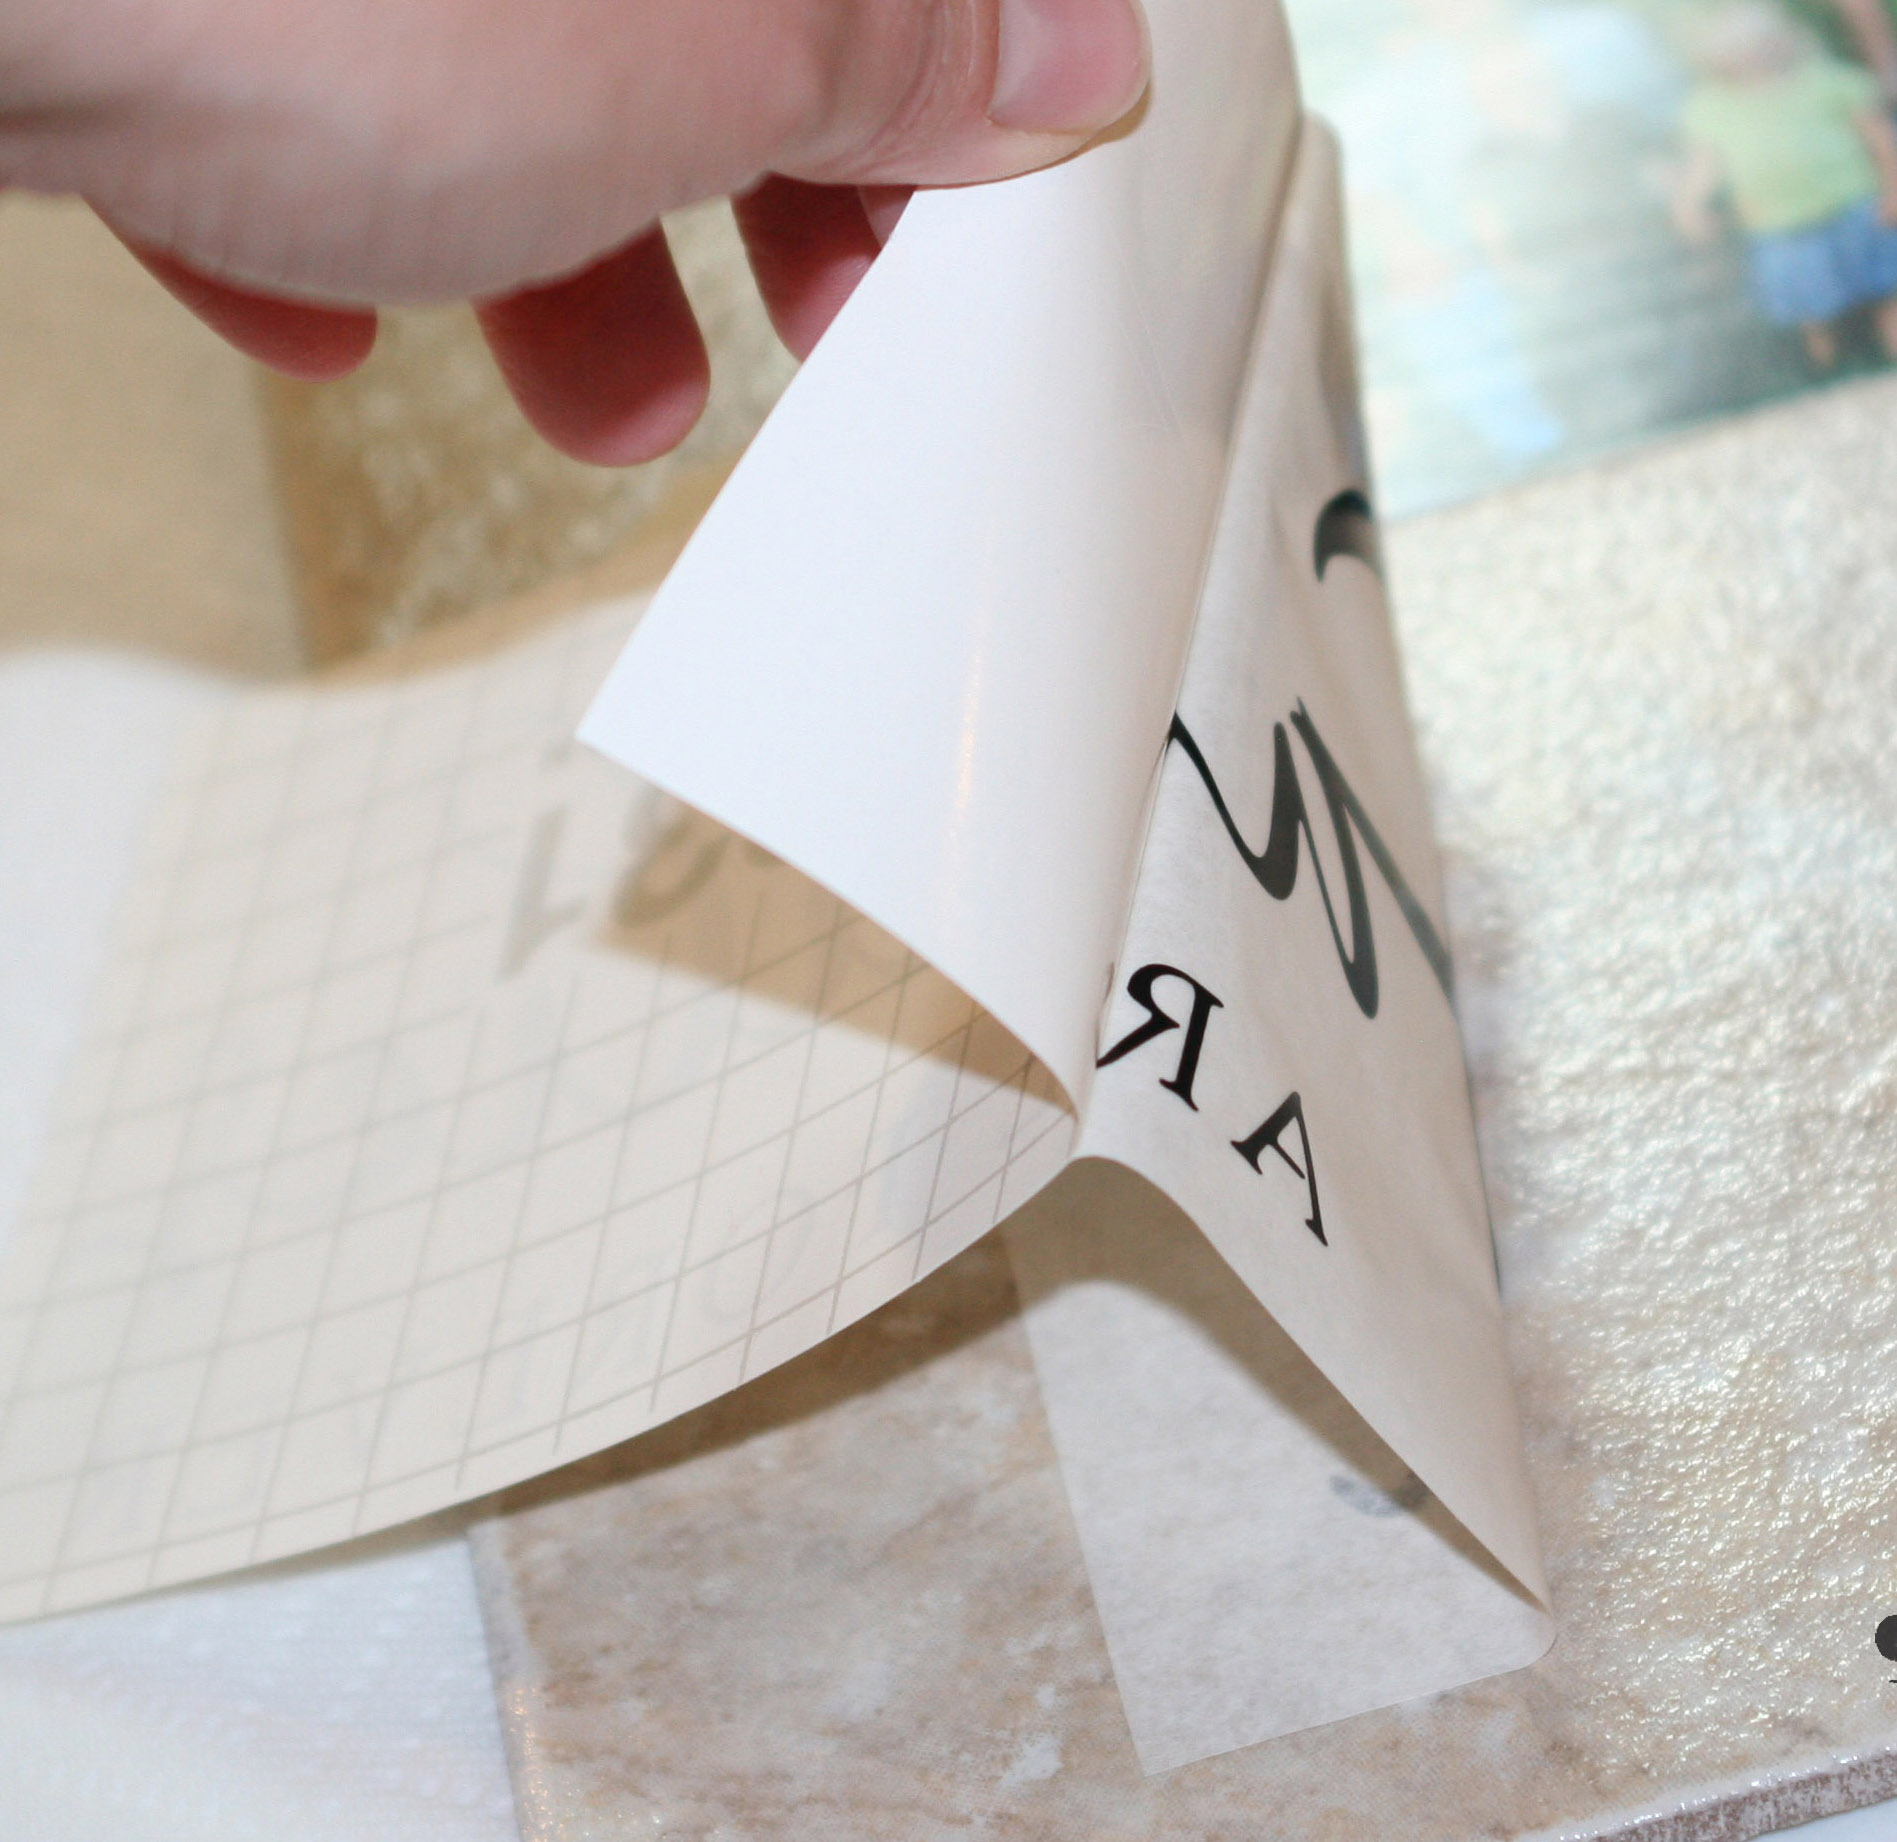
#5. The last step - carefully peel the transfer tape off
to reveal your design. **Keep in mind that the smaller the pieces or the rougher the surface, the more patience is required. Peel at a sharp angle as shown in the image. Peeling the transfer tape off straight up or straight out will likely pull some of your design with it. Again, you may need to manipulate/press with your fingers any pieces that need a little extra help staying adhered to your surface.
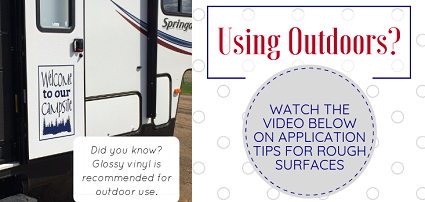
Textured Walls Tip: peel the transfer tape in sections and over top of a squeegee while pressing down with the squeegee, like shown in THIS video.

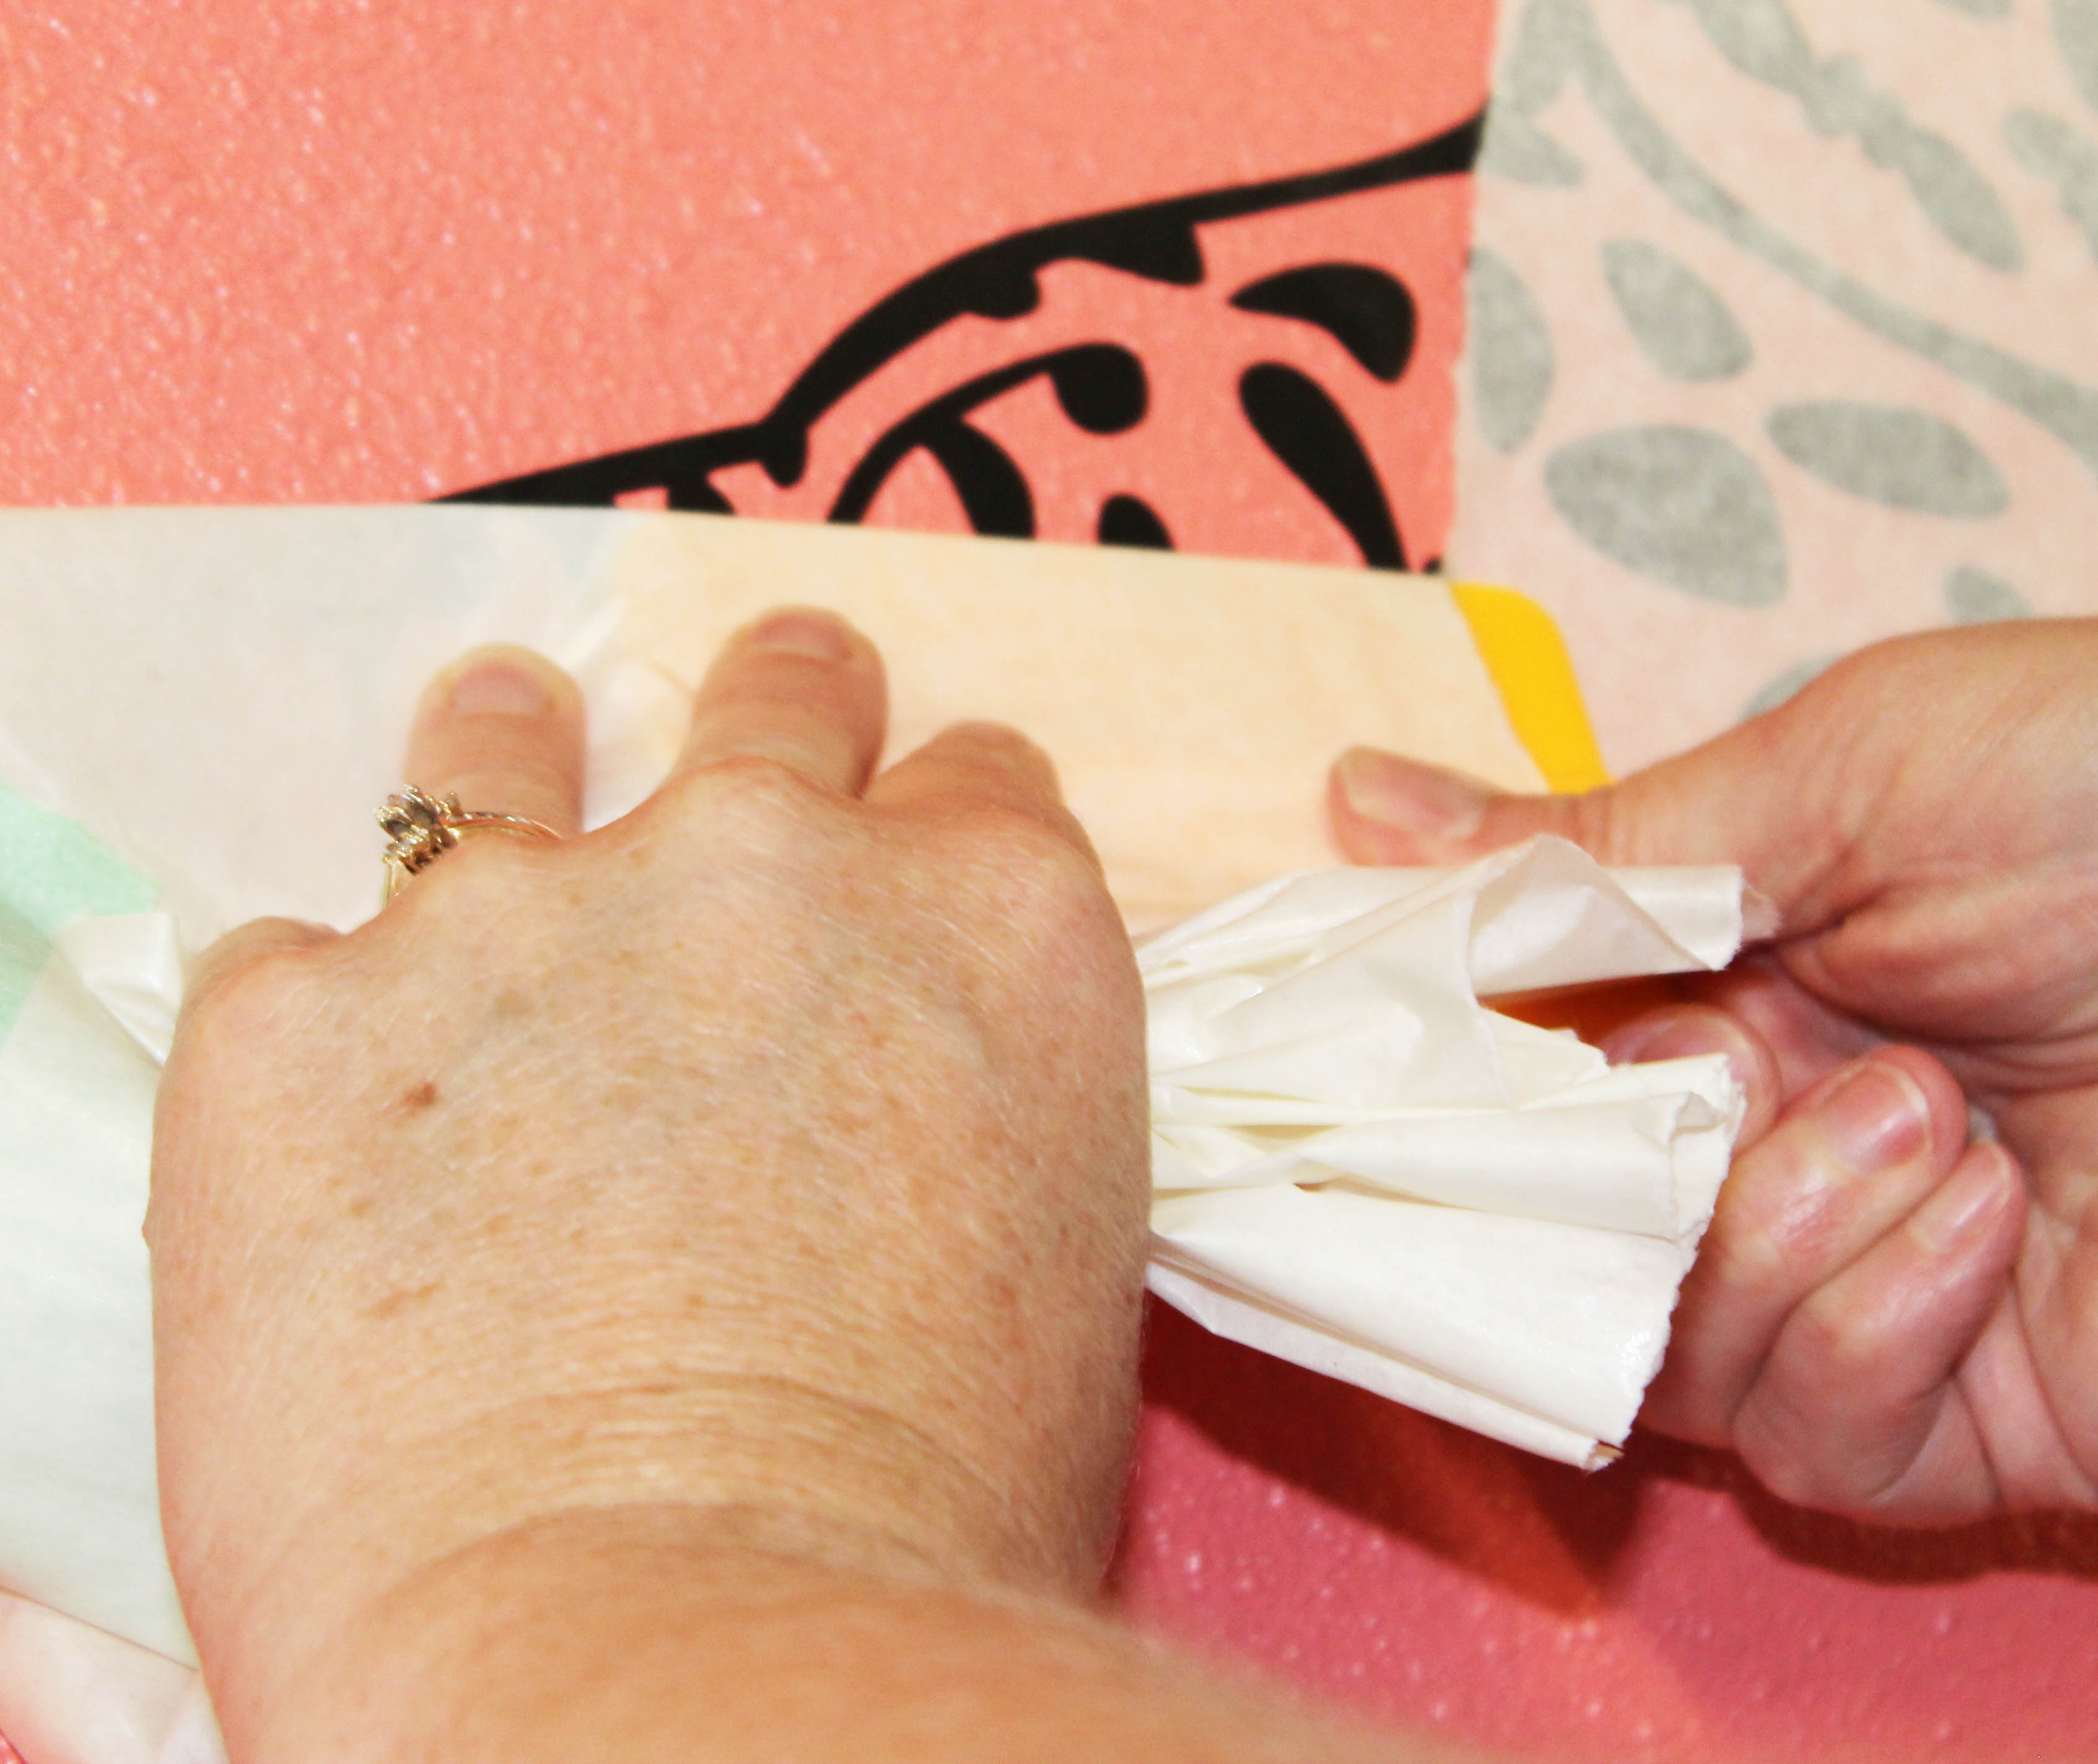
If your transfer tape is problematic when removing; leave the transfer tape on for an hour and come back. This will allow the decal to create a bond with the wall surface.. Also when applying a decal to a bumpy or textured wall, you can use a hair blow dryer to VERY LIGHTLY heat up the adhesive; which will help mold the decal to the bumpy surface. WARNING: high temps will shrivel the vinyl decal
If you have further questions, try our FAQ page or Contact Us with any problems.
Ready for a change? Click here for removal tips for wall decal stickers.
