
Ooops!... How To Fix A Wall Decal Blooper
Posted by KM Ymker on Jan 24, 2015
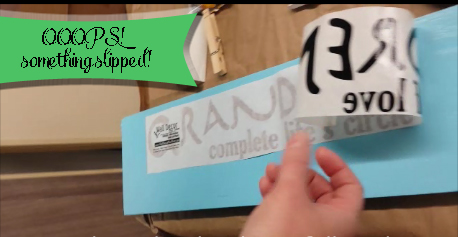
We had a blooper the other day; as we were applying a vinyl sticker to a board for a neat craft project. Oops! We were testing out an old vinyl sticker product (the vinyl sticker had been sitting on the shelf for quite some time). As we were placing the vinyl sticker on the board, the sticker slipped before we could make all the lettering flat and smooth.
This was an operator error =( .... not any defect in the vinyl sticker!
I'd like to go through and explain how we fixed it, and were still able to use the vinyl sticker decal!
After you realize things aren't going as smoothly as planned....Let's do "project save": lay the rest of the vinyl sticker decal down as smoothly as you can. The goal is make all the wrinkles and ridges come out where there ISN'T a sticker or lettering!
If you can make the wrinkles fall between the lettering, the only thing you lose is a little alignment (which we always hope isn't noticeable!); but the vinyl sticker lettering will not end up with wrinkles or ridges.
See the slight bubbles we have in the photos here? On a perfect application process, this would not happen - the vinyl decal would be smooth and flat.

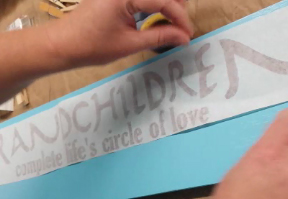
Now, gently peel back the transfer tape. After you have the top semi-transparent tape off and discarded, you can do a check to see how the vinyl sticker lettering fared - did you get the entire vinyl sticker design applied without wrinkles?
If the vinyl sticker ended with a wrinkle, don't worry! You can gently use your fingernail or a tip of something to pick up the lettering or sticker and work out the wrinkle
And voila! As you can see in the picture below, the vinyl sticker lettering has no ridges or bubbles!
