Helping You With Your Wall Decal Application - Step by Step Tips
Posted by KM Ymker on Mar 27, 2015

We had a customer call the other day asking for help. I am going to share what we visited about and the outcome here. We want you all to be as knowledgeable as possible when working with your wall decals. Knowledge of the best tactics will help YOU through your wall decal application.
Our phone call started out with a customer, who was quite upset that she wasn't able to get her wall decal letters to stick to the wall.
Here are the steps we talk through about the wall decal to understand what the issue might be.
1. What decal are you trying to put up?
She was putting up the White Thankful for Laundry Wall Decal Quote. This wall decal has LOTS of letters, some tiny; so this wall decal design will certainly take more patience than a simple design, like our Be-You-tiful wall decal
2. Are your wall textured? This is a very common problem with wall decals. Textured walls DO make application more difficult! See our video here to see a little bit of the difference.
Our customer said NO she has smooth, untextured walls. This was a surprise, as I almost always assume the wall decal difficulty comes from textured walls. - (which is WHY I am sharing this post with you =))
3. Our next question for our customer was "what type of paint and how long ago did you paint?"
Her walls were a flat eggshell paint and it had been painted years ago. So this was the issue at hand. Eggshell flat paint is more porous. Porous is not something you generally see. Having more pores means the wall decal has less of a solid, uniform surface to adhere to.
Now you all want to hear the solution, right?! There were a few tips we shared with the customer.
1. Let the decal sit for an hour and allow the decal to become adhered to the wall surface.
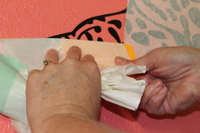
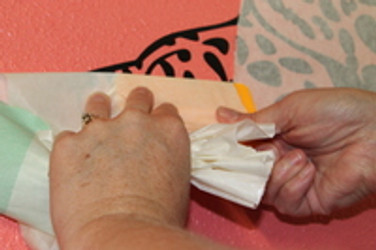
2. When using a squeegee, press down at the same time as you are pulling the tape over top of the squeegee. Also peel the tape off in small sections, not the whole piece at one time.

3. Heat the wall decal gently with a hair blow dryer to soften and activate the adhesive.
As the customer was uncertain at this point if she was going to be successful, she said she would check back with us. An hour later, she called back = SUCCESS!! Of course, I had to ask her which tip did the trick. She said #2 but since she didn't have a squeegee on hand, she used a firm hardcover children's book.
We are always glad to help if you have any wall decal questions or concerns!

