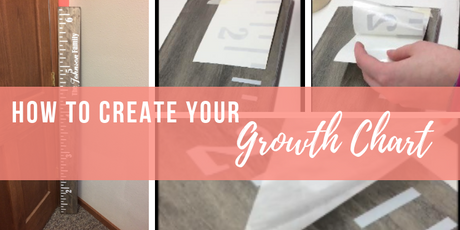
How to Put Together Your Vintage Ruler Growth Chart - Step by Step Tutorial & Video!
Feb 26, 2021
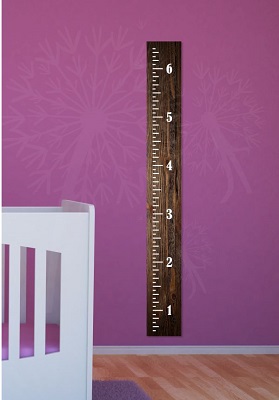
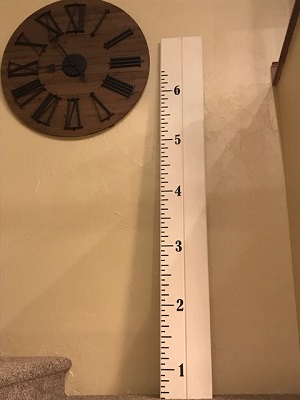
So you have just ordered a Growth Chart decal from Wall Decor Plus More, and you are crazy excited to put it up in your house! But when it comes in the mail, you are a little lost as to how to put it on. Don't worry, we have you covered. All you need is a board 6' tall and 6" wide (or your wall!), and these instructions:
1. Open up the package and take careful note of all your pieces. There will be four sections of the decal. Note that the bottom mark on each piece should line up with the top mark on the next.

2. Before removing the non-sticky side of the adhesive, lay the decal on the board/wall and measure carefully to make sure it all lines up. Pretty simple. Make sure it looks straight before you take the plunge.
3. Put a few pieces of tape on to hold it steady. Once you have the piece straight and ready, a few pieces of tape on one side or through the middle will keep it still.
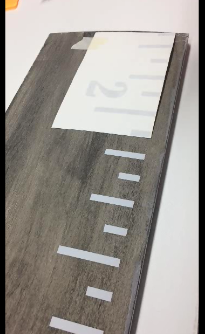
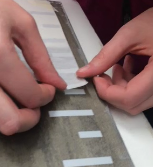
4. Carefully lift up one half of the sticker and peel off the protective layer. While one half is being held down by tape, remove the protective layer from the other half. Cut it off with scissors and discard.
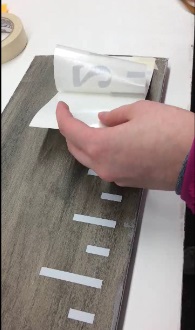
5. Lay it down carefully, so that there are no wrinkles. Repeat 5-6 for the other half. Put the adhesive back in place and smooth it down. Then repeat with the other half. This is called the Hinge Application Method.
6. Rub the decal smooth with a squeegee, your fingernail, or your flat hand. Once both sides are done, make sure everything is on smooth and tight.
7. Remove the adhesive, pulling slowly from an angle. It's time to remove the adhesive, so that just the decal will be left behind! Go slowly and carefully, starting at one corner and moving at an angle.
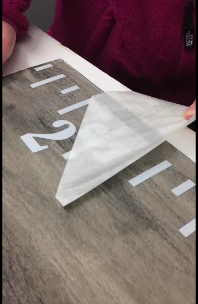
8. Repeat for 2-7 for the other two sections. Three more sections to go, and voila! You're done!
For a visual aid video, click here. And enjoy!

