
Springtime Office Window Update with Floral Wall Decals
Posted by KM Ymker on May 23, 2015
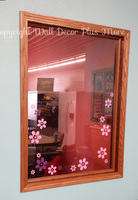
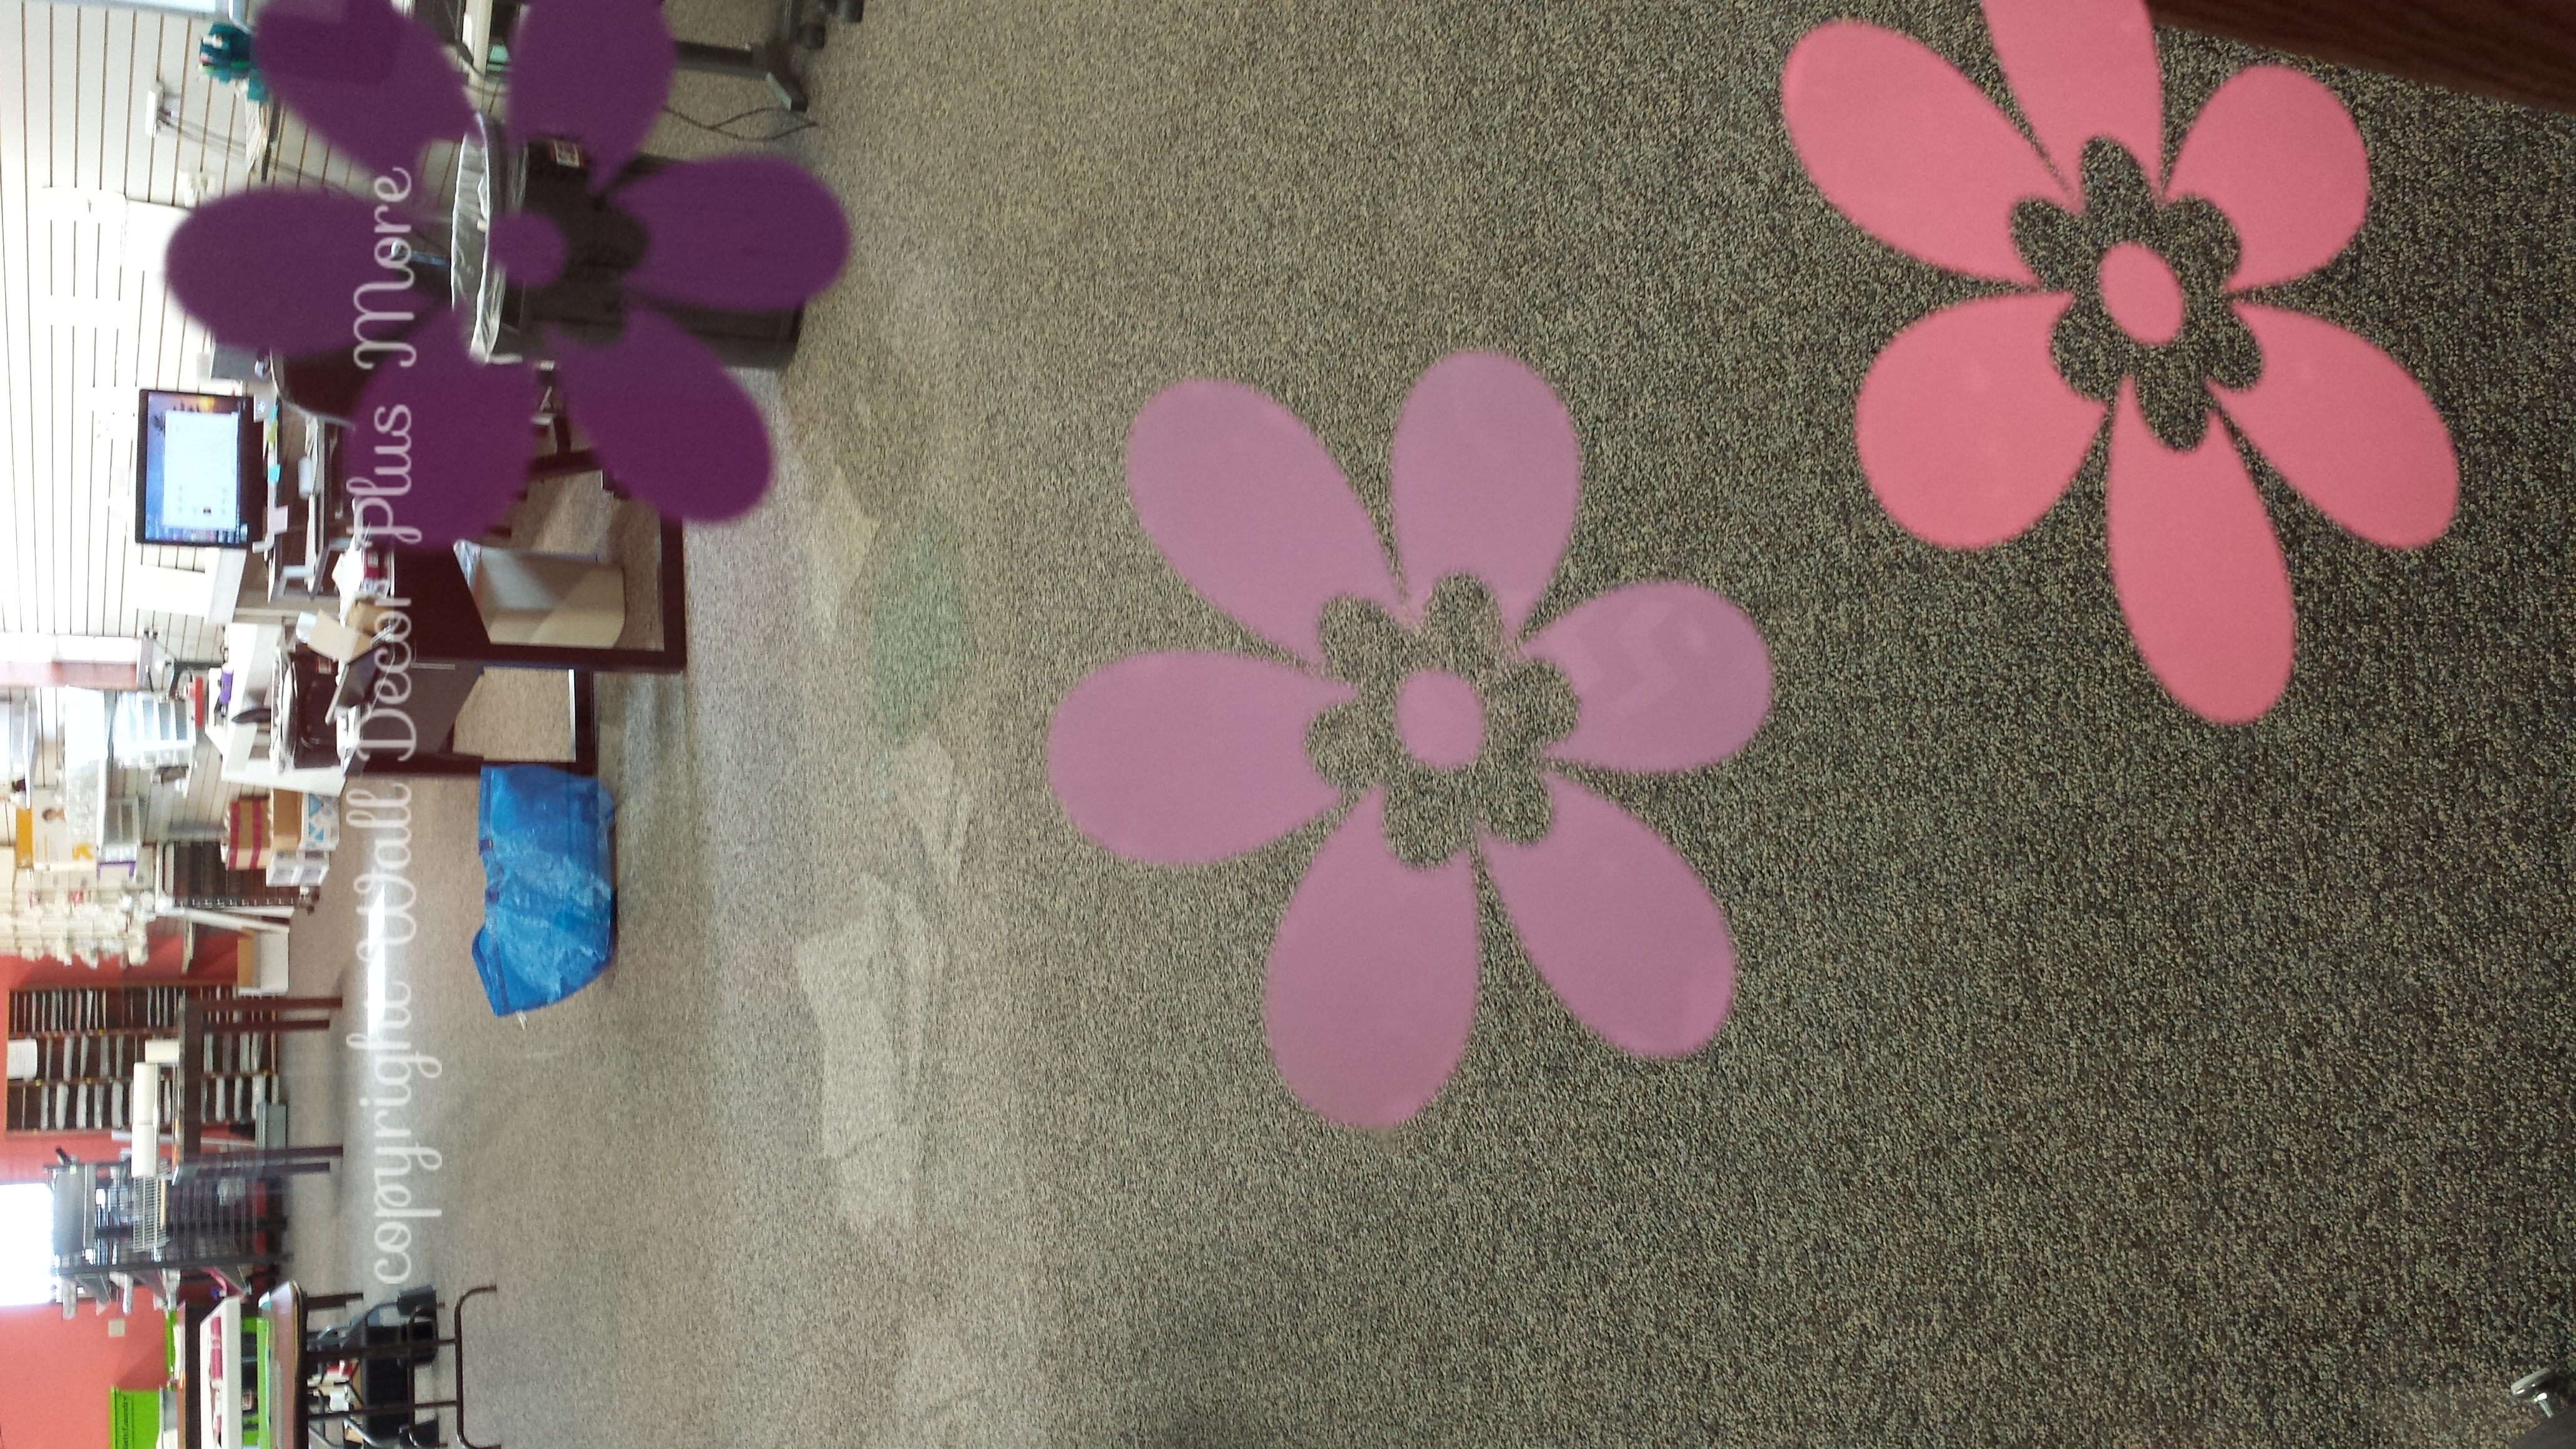
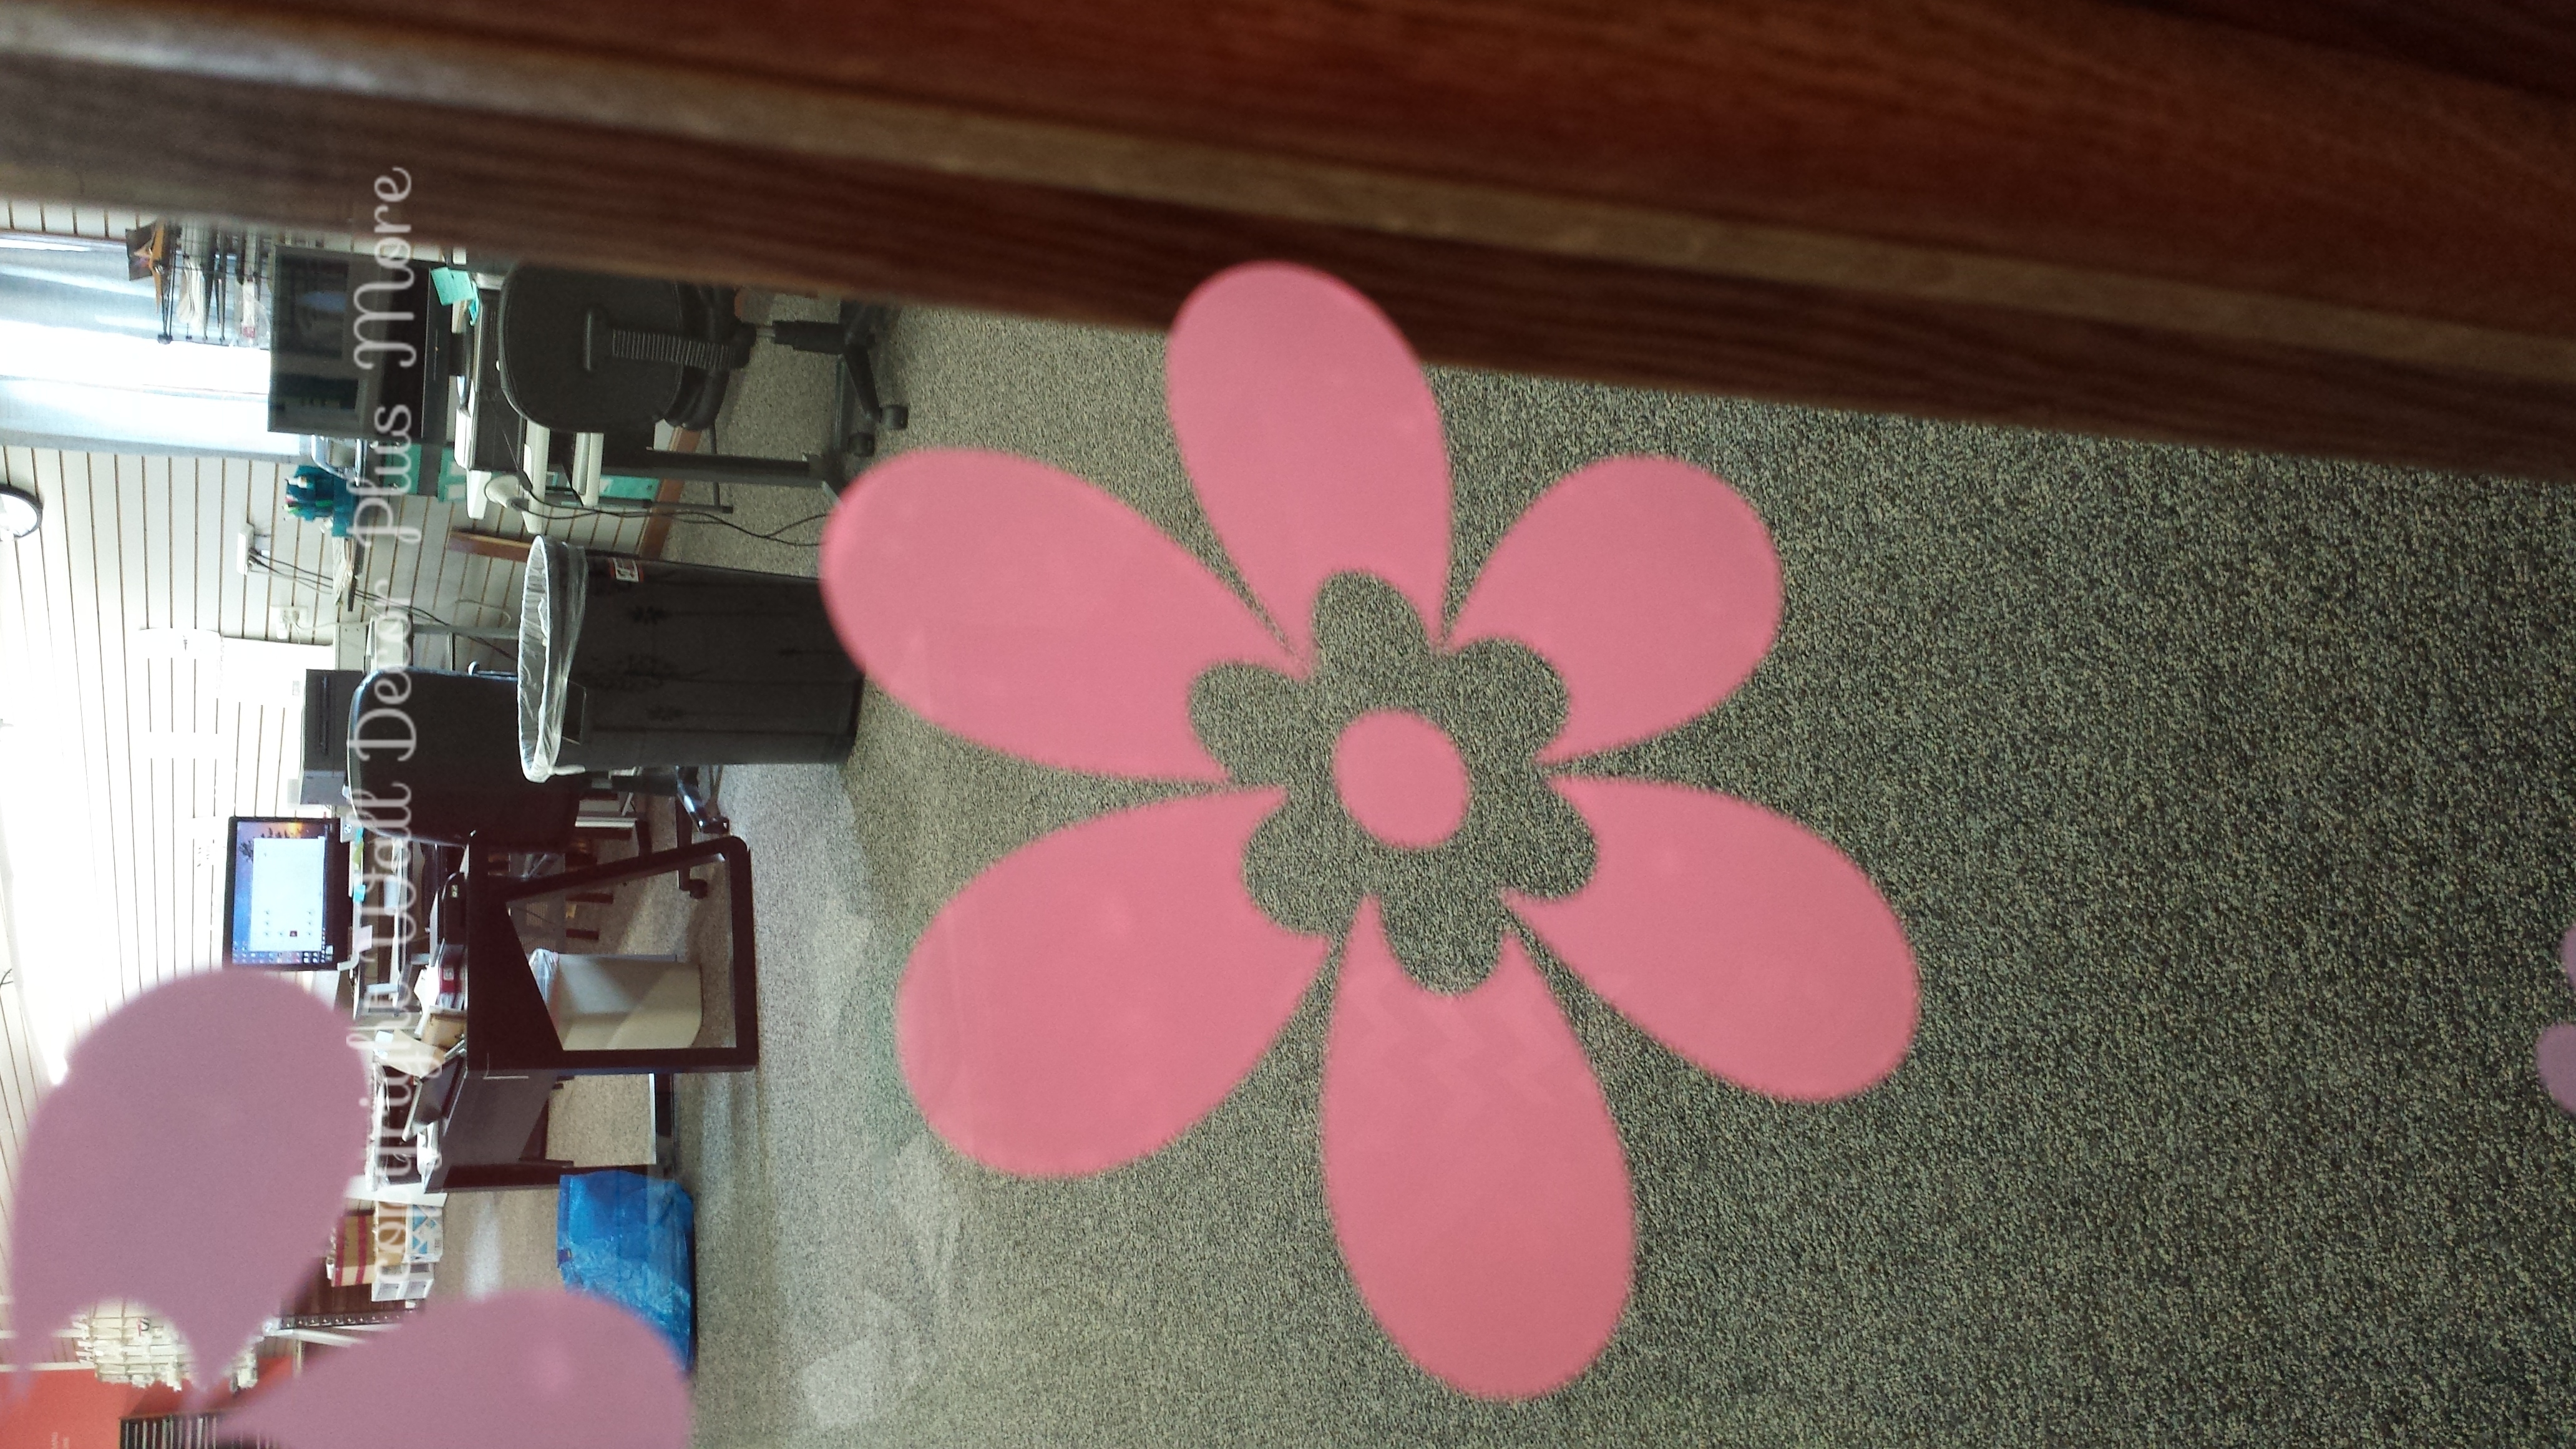
As we are having a few nice spring days, I knew it was time to retire the snowmen face decals decorating my office window and refrigerator. For my office window, I chose these cute floral wall decals!
As I photographed a few of the steps, I came across a few things I'd really like to share with you pertaining to wall decals.
Here are a few things I caught on camera that may help you with your wall decals:
1. When removing the backing paper: If the wall decal isn't coming with your sticky tape layer (it's staying stuck on the backing paper); manipulate and apply pressure to the backing paper, causing the decal to stick to the tape instead. If this is happening a lot, you may need to squeegee your design really good helping to create a bond to the transfer tape better.

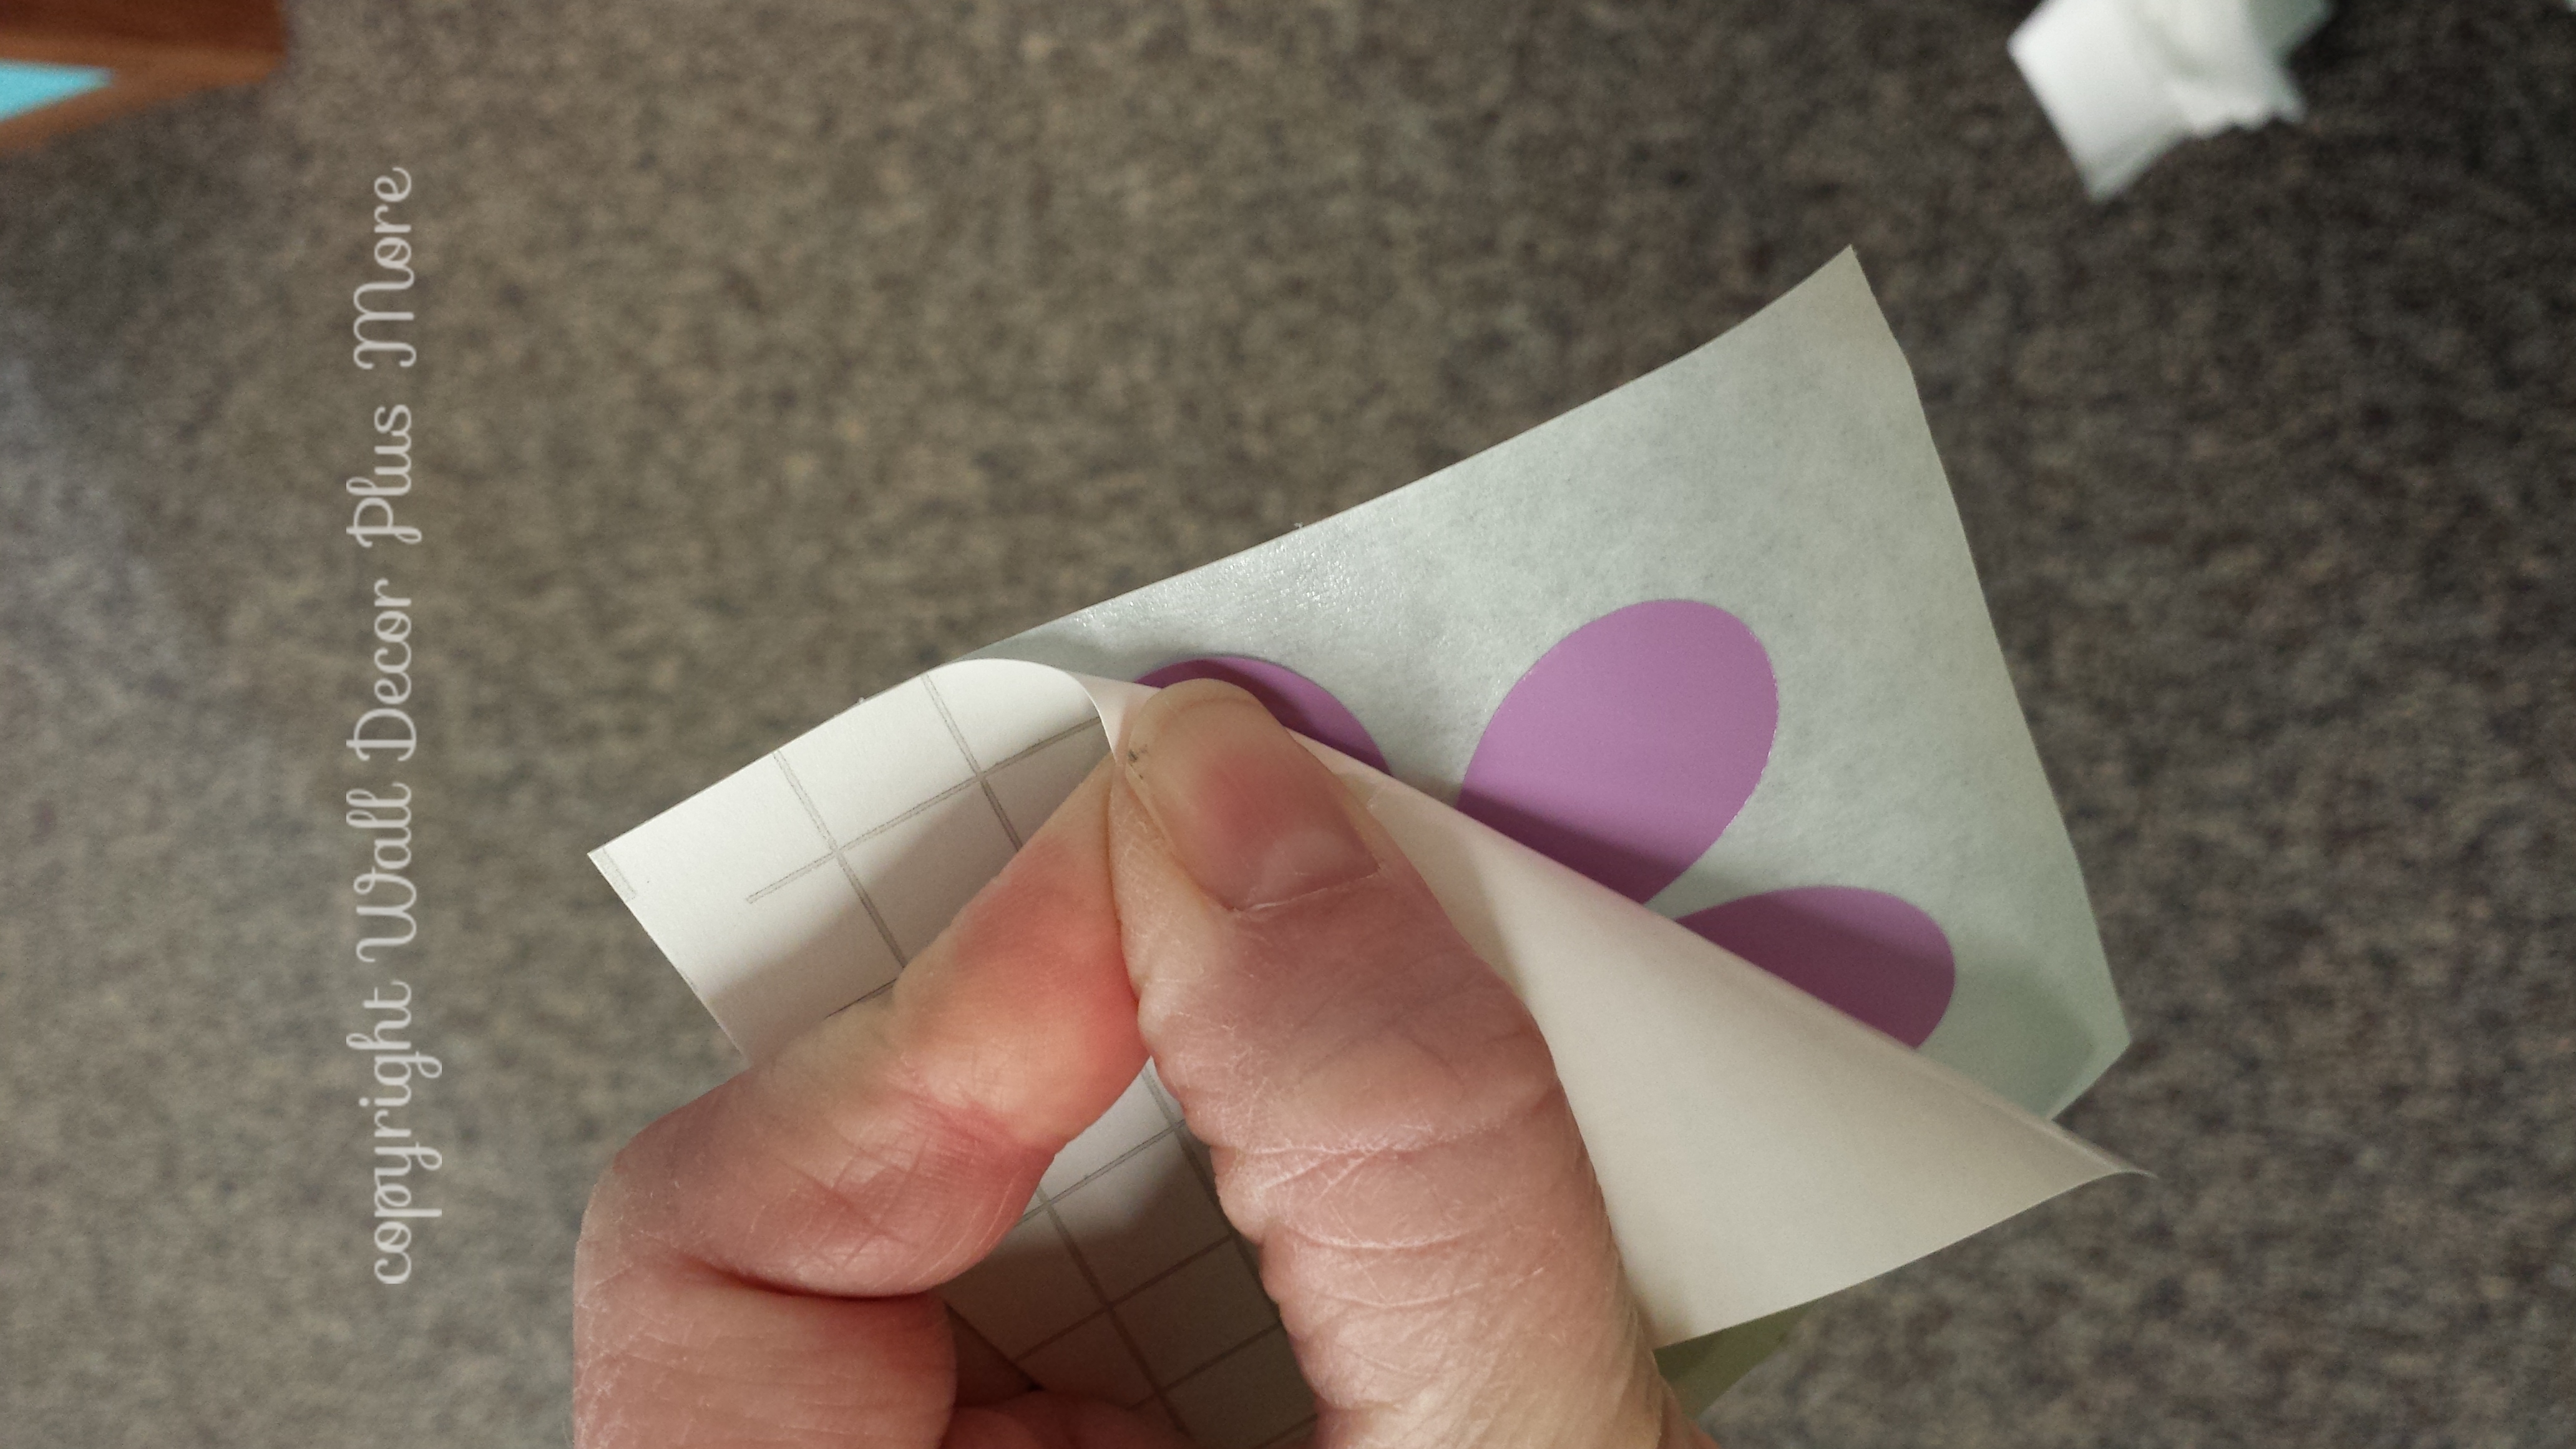
2. Speeding along when removing the top tape layer can cause rips or missing pieces. Here, our surface was super smooth glass, so I didn't even need to squeegee but I still found a spot or two that I had to stop and press it down well because the decal wanted to stick the tape instead of the surface glass.
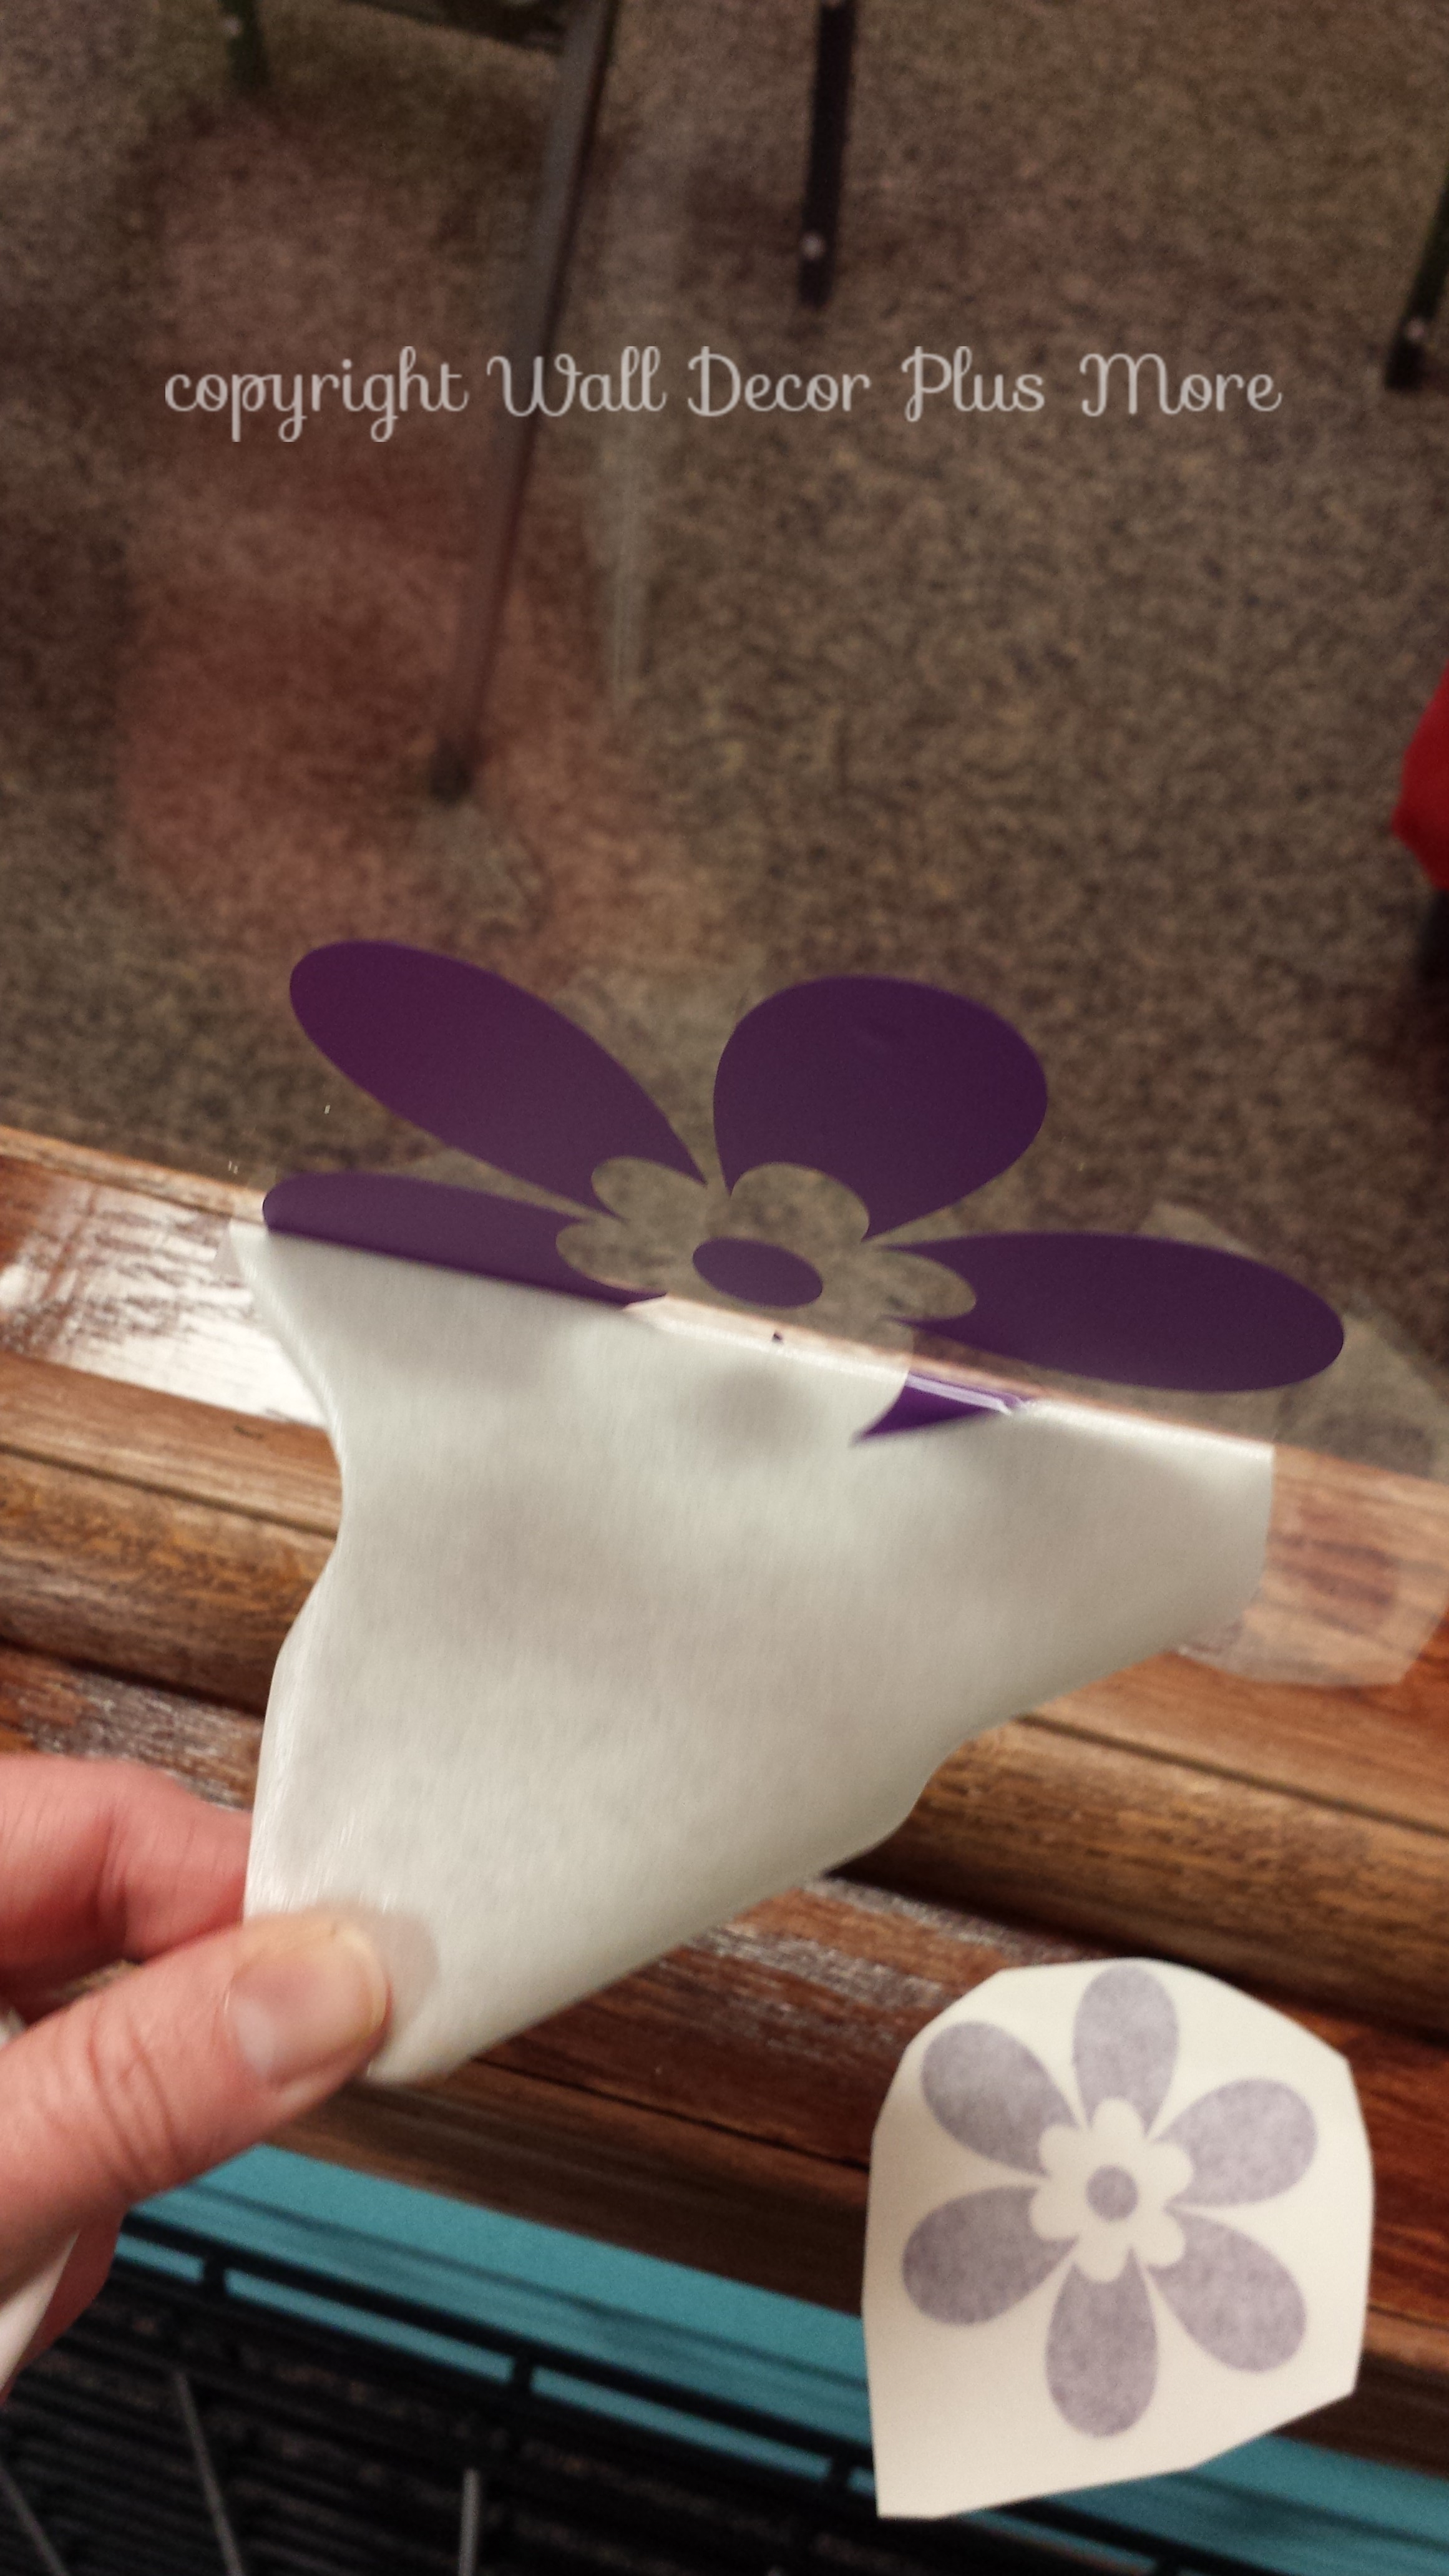
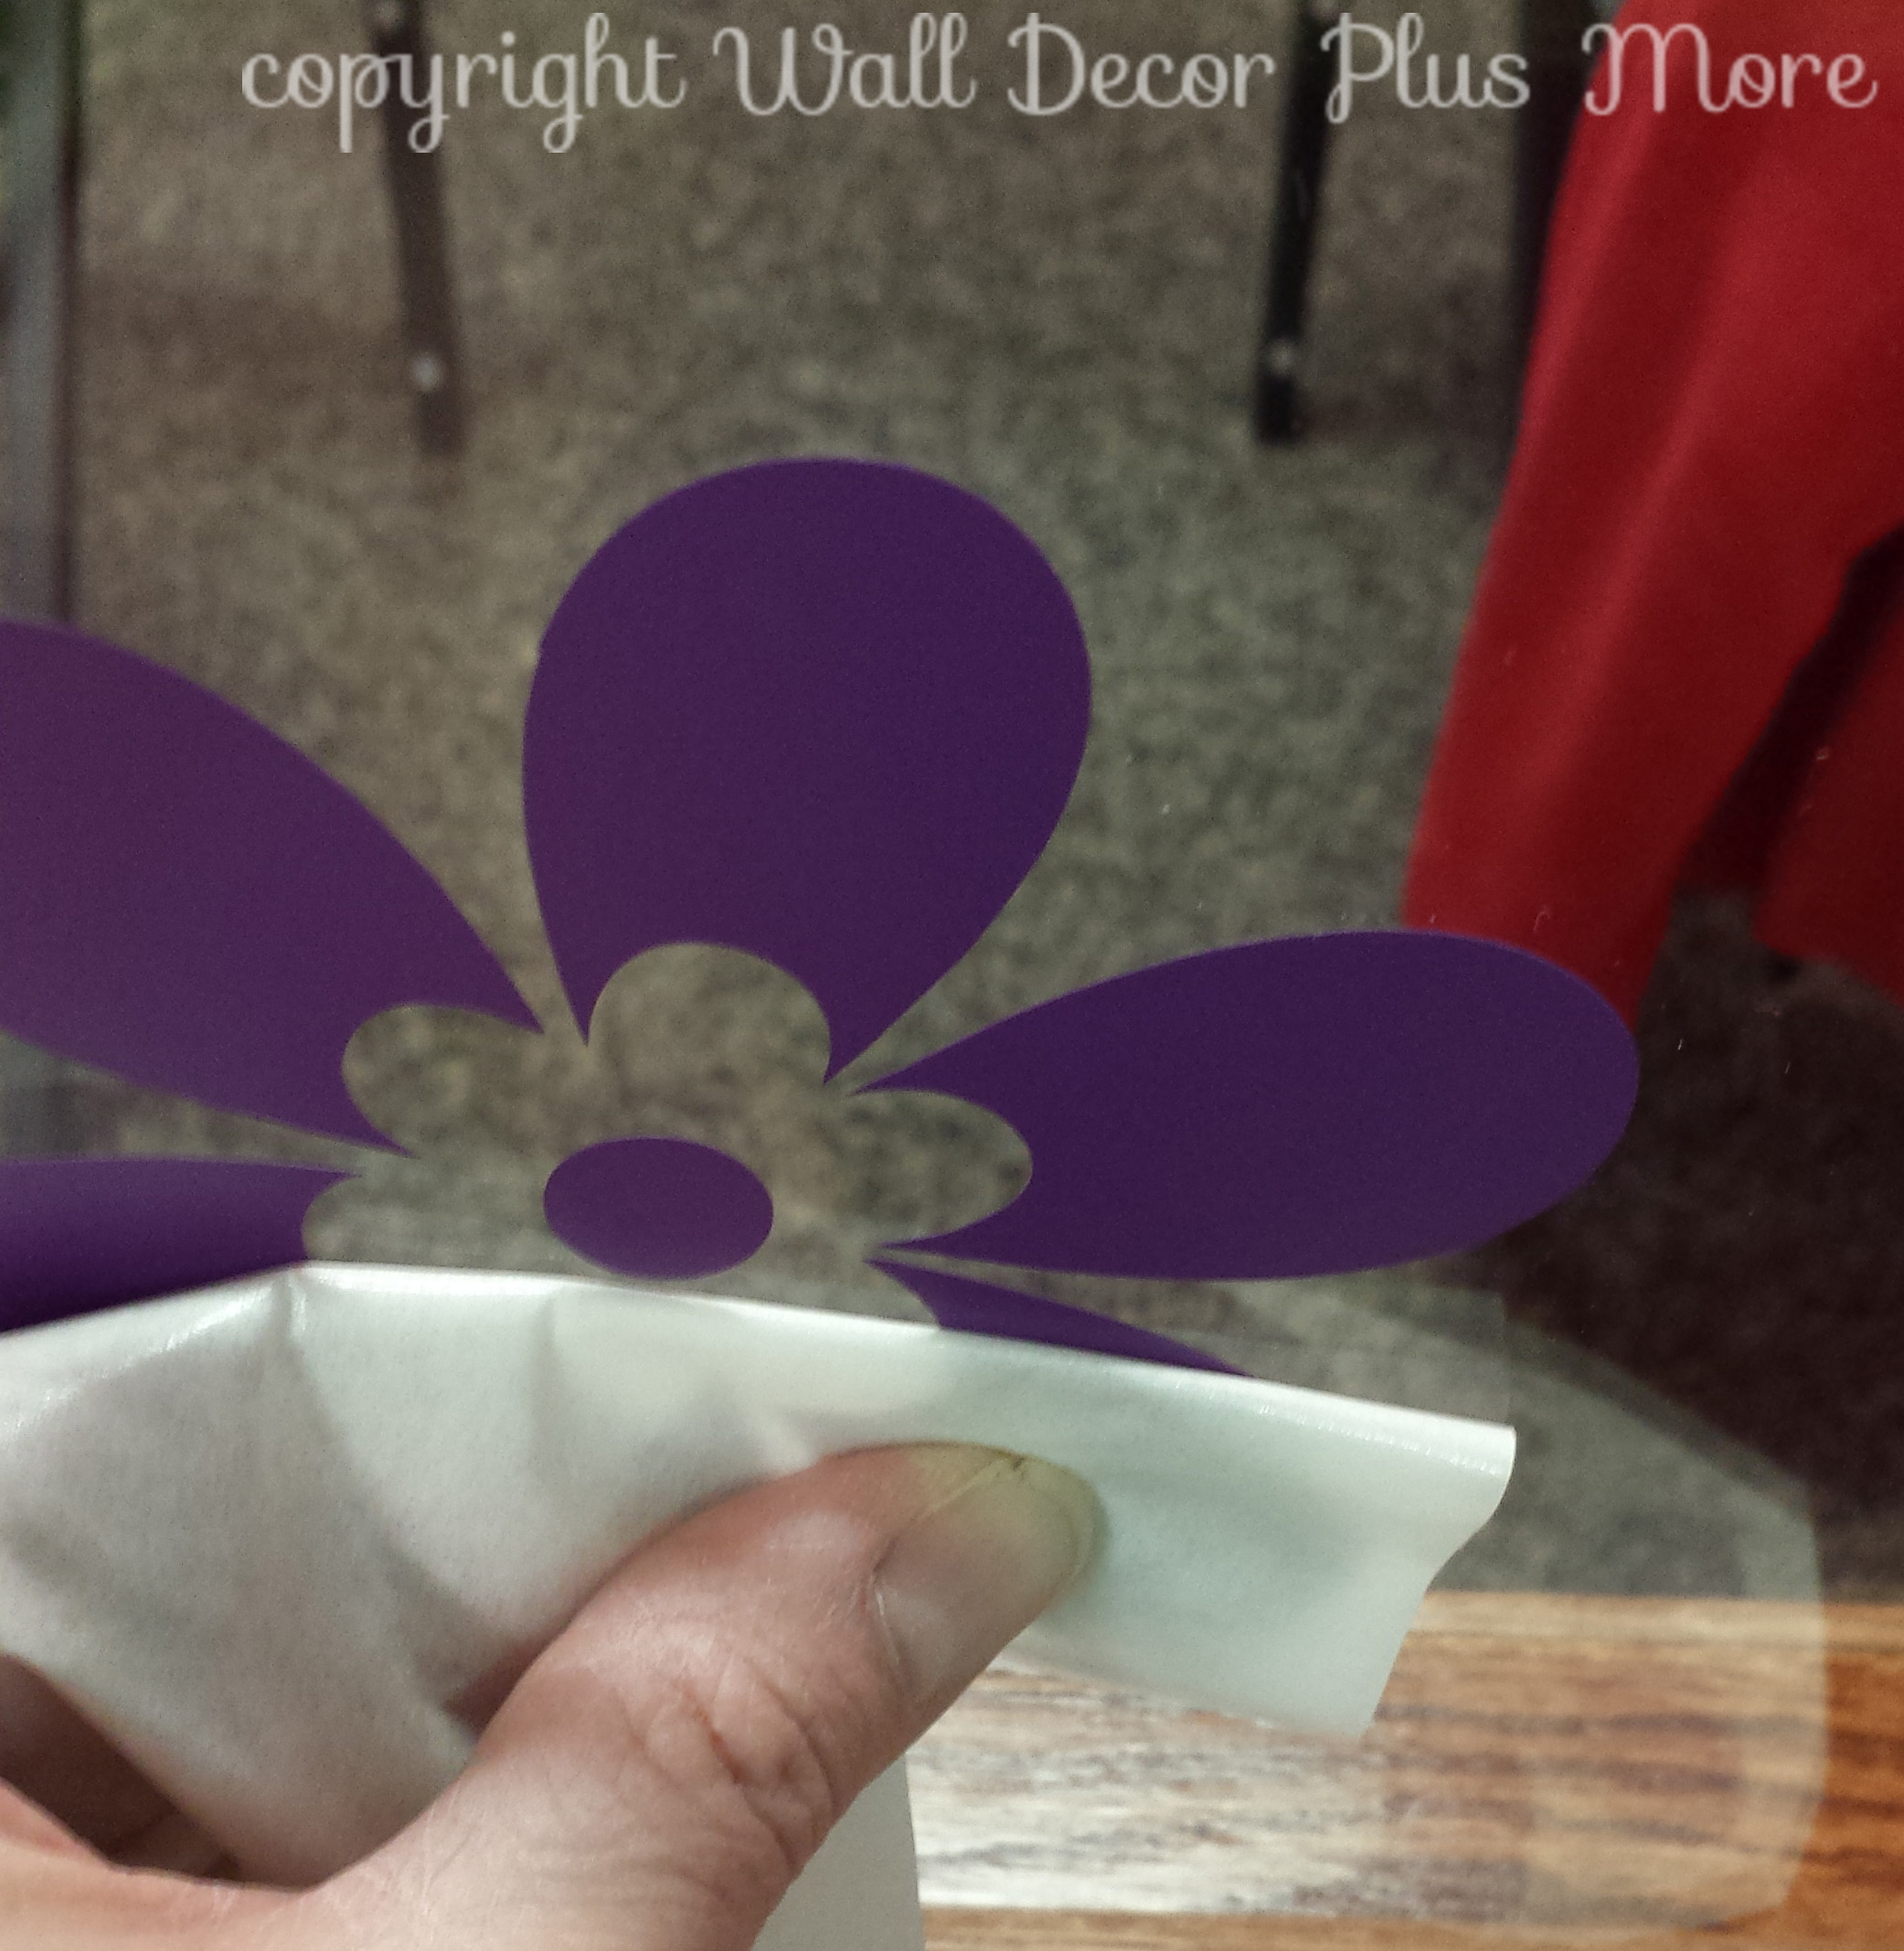
3. The last thing I want to show was a little difficult to photograph but hopefully I can explain what you are seeing. Here are pictures of the back of the glass. Our wall decals are colored on both sides of the decal which is necessary when applying to see-thru glass. These pictures may help you decide which side of the glass to apply the wall decals to. The wall decal looks the nicest on the side that you apply the decal to, in my opinion. The back side of the decal, as you can see is a not as bright looking. Plus the adhesive of the decal shows slightly with a few tiny bubbles appearing. Can you see that in the image? If not, feel free to visit us sometime soon and you can see this for yourself! =)
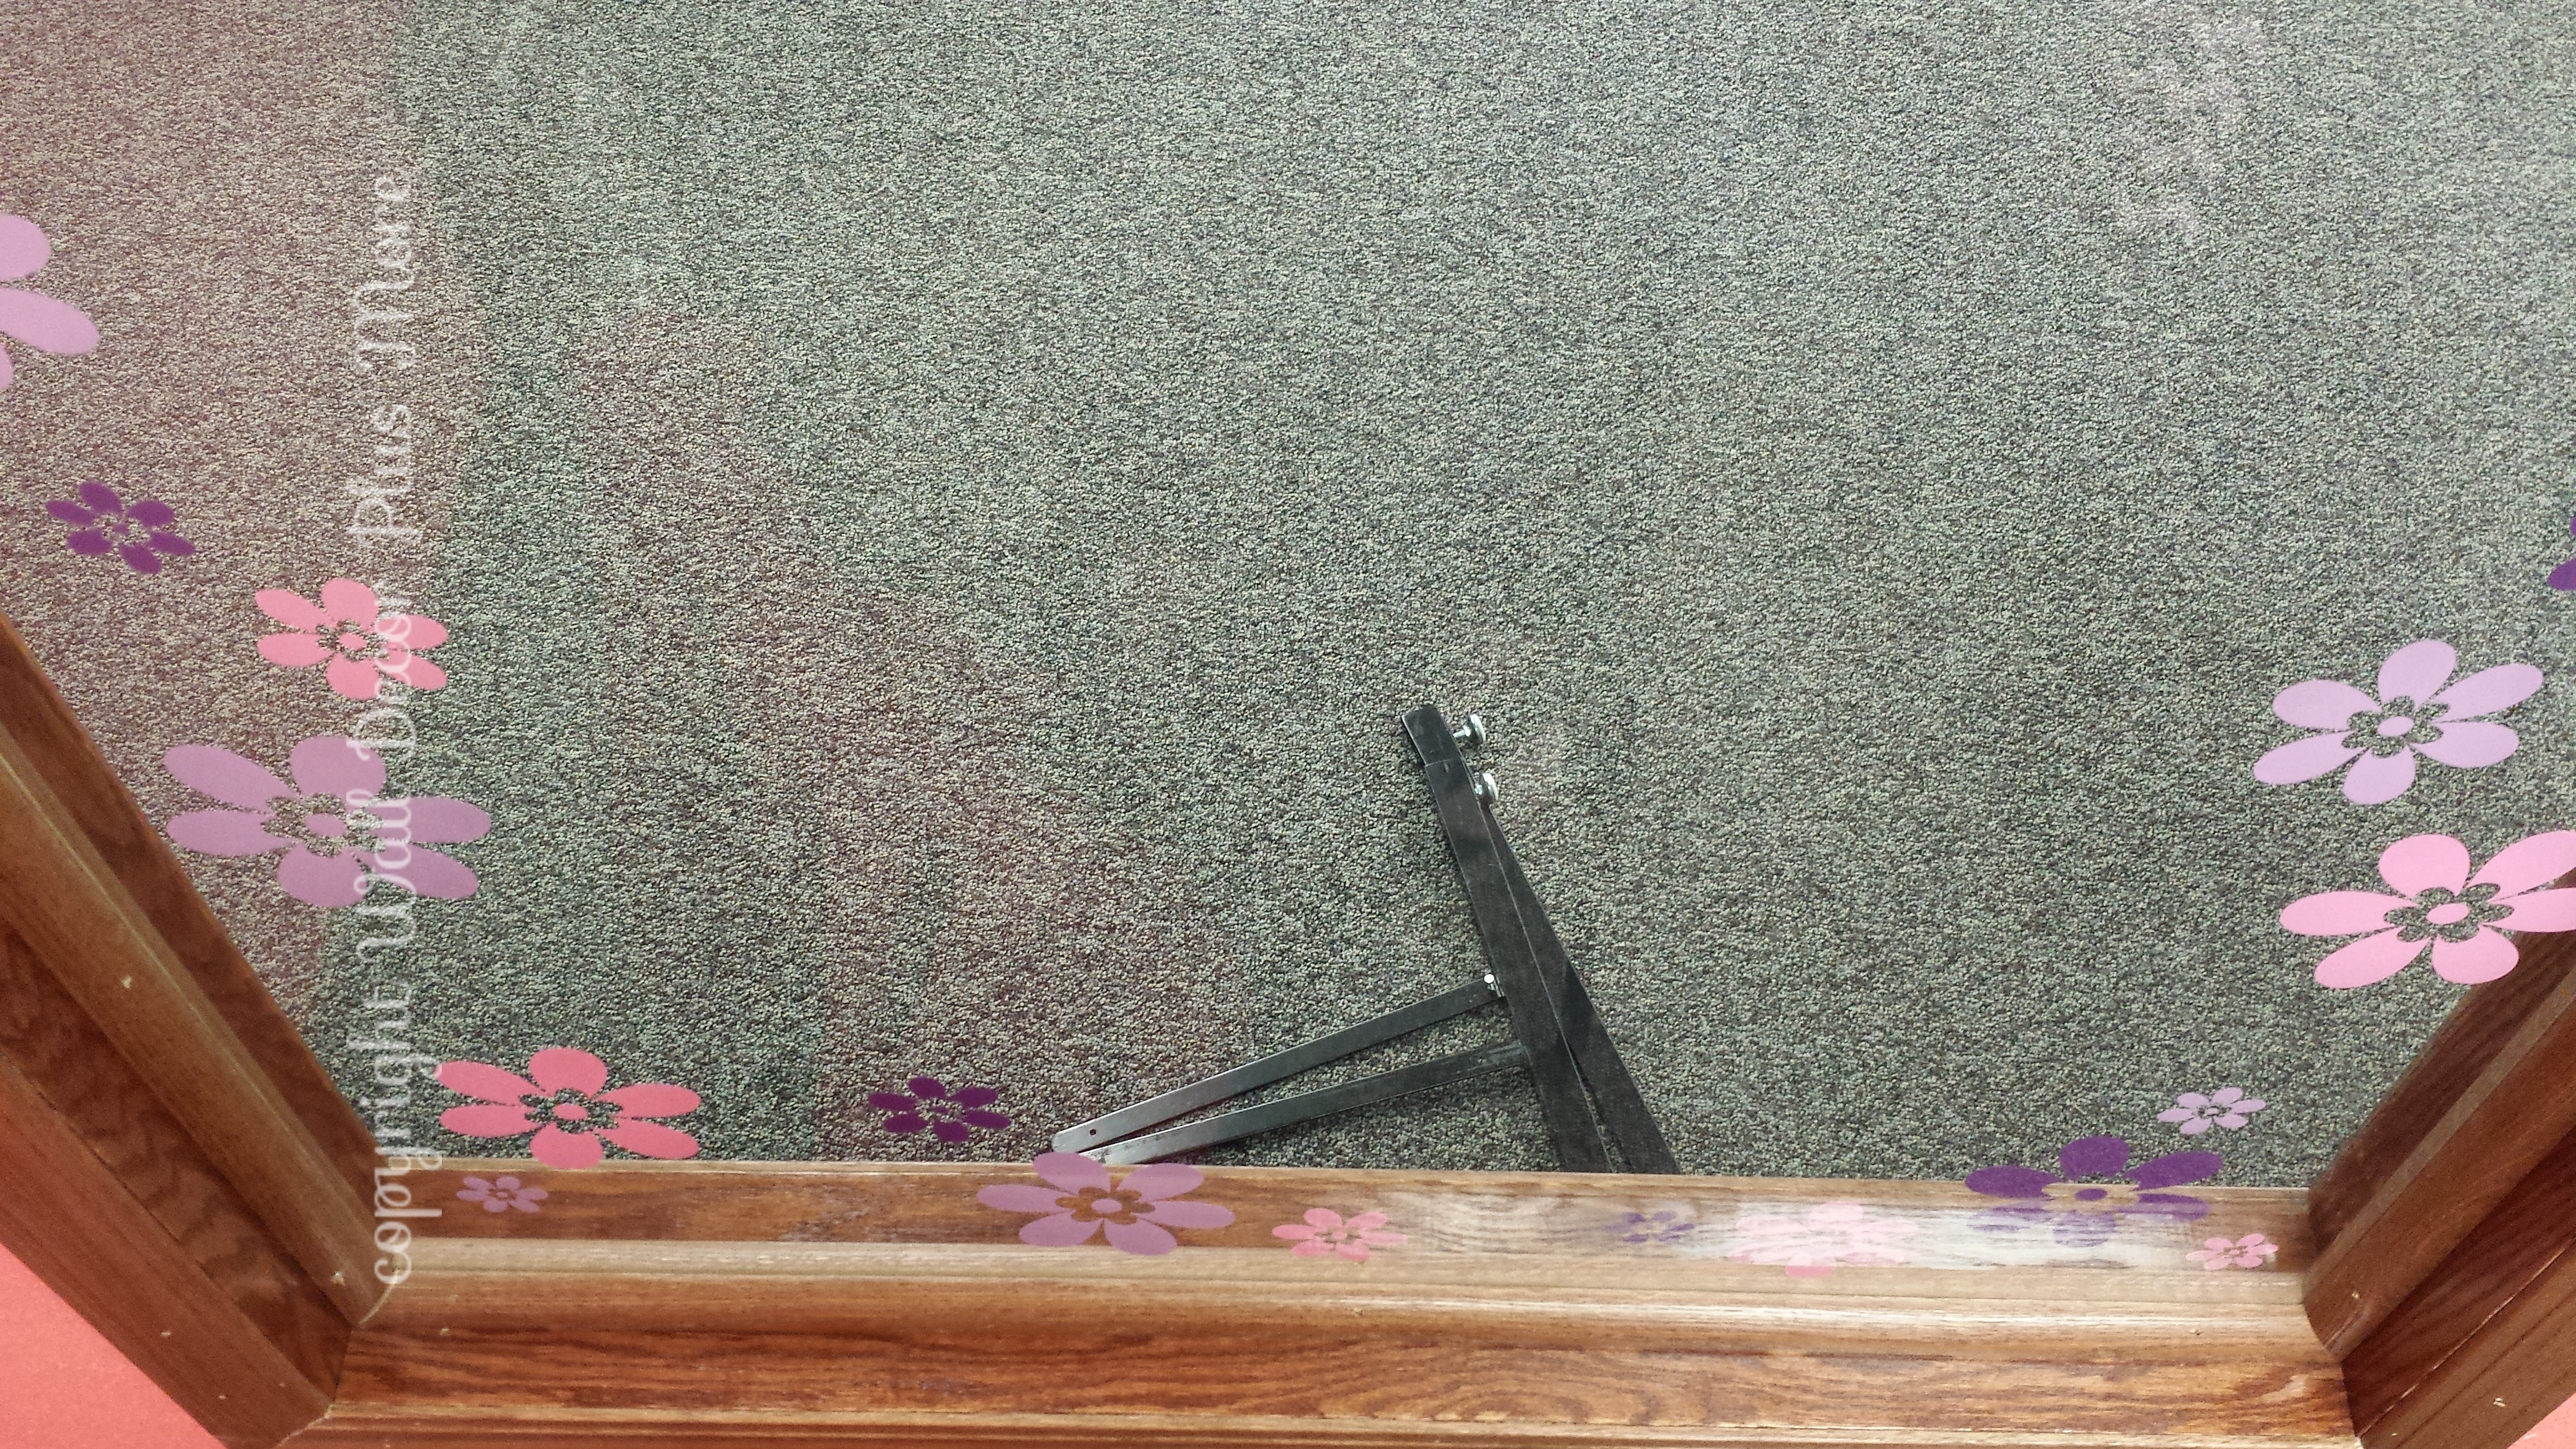
So my 3rd bit of advice for wall decals on glass: if you have an option, make the most viewable side be the side that you apply the wall decals on.