Using a Vinyl Sticker as a Stencil and Dry Brush Painting
Posted by KM Ymker on Jul 03, 2015
The news and info you have been waiting for, as we shared sneak peeks throughout the week on Social Media!
We also have a video we put together, which we will add at the end of this post, if you prefer to watch instead of read.
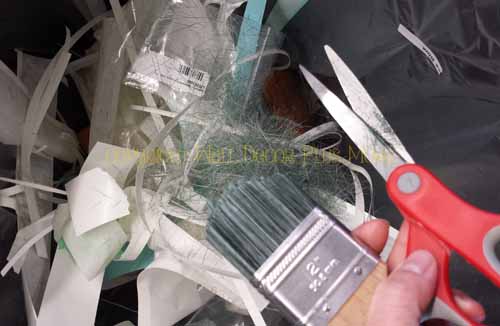
First you will want to find a good brush. I trimmed my brush down (gave it a haircut!) so I had short, firm bristles.
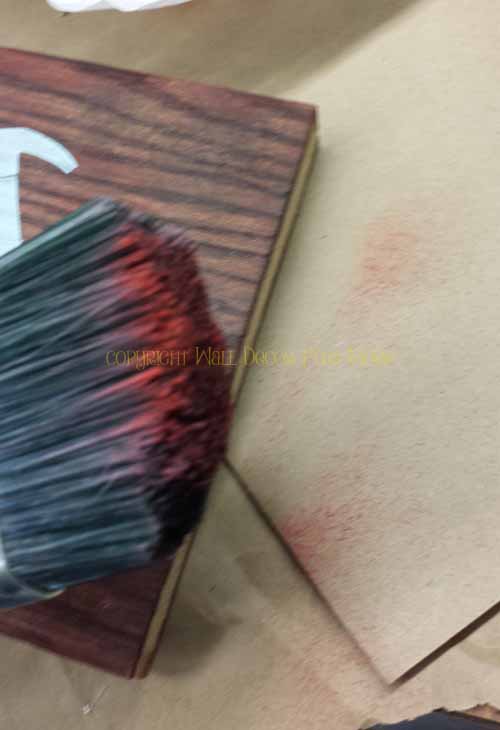
After finding the perfect brush, its pretty FUN! Just dab on a bit of paint and start brushing. ONLY A DAB! After dipping into the paint, either drag your brush across the top of your paint container or dab the brush on paper towels before you paint.
Add a few touches of paint spread out on the surface or board you are painting. Then start brushing....
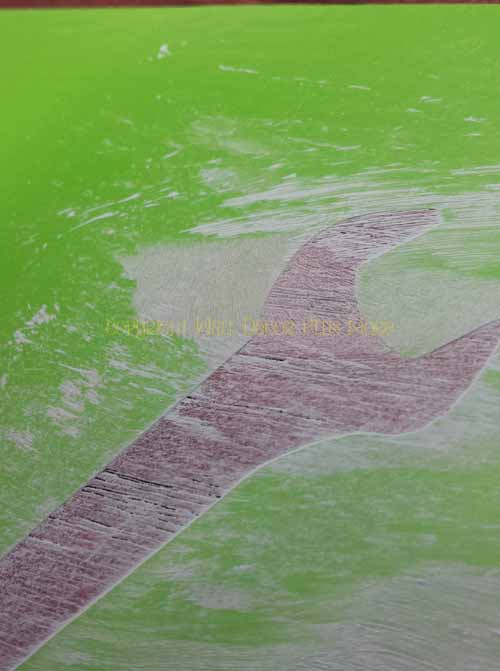
The more you brush, the more the paint blends in. And if you brush even more, you can start taking OFF paint, so don't over do it. Also watch out for the surrounding surface or your clothes - the paint can "spray"
On my Grandpa board, I wanted to add just a touch of Red color to the board. I actually could have added more Red as you can barely see it once it was done.
After using the Red paint on the board, we moved on to the Vinyl Sticker stencil. We reversed the cut of the Vinyl Sticker to make the stencil design.
Here's the vinyl sticker stencil on the board before we painted the design on. You can see the wood through the letter openings.
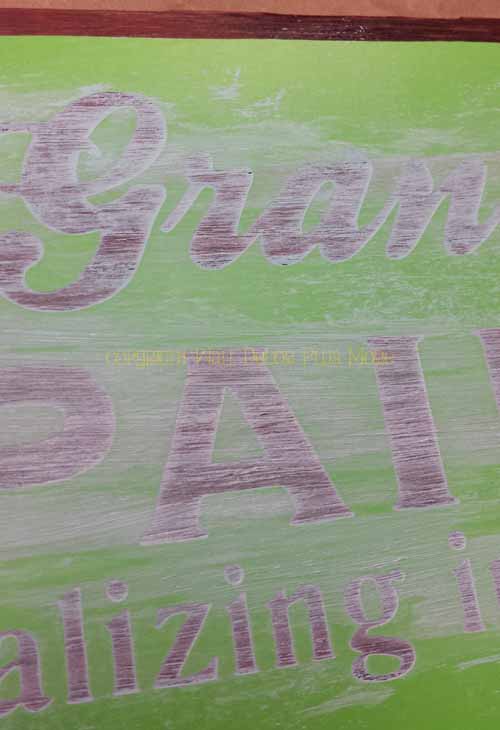
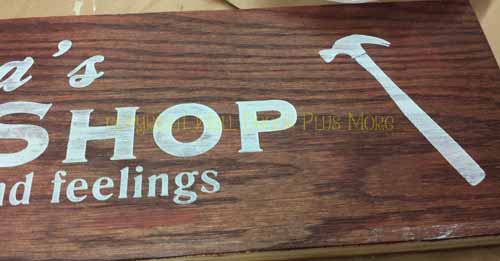
We used the same dry brush painting technique for the lettering design. The dry brush painting technique is great for making vintage or distressed signs.
Another HUGE bonus for me, with the dry brush painting, is the FAST drying time!!
You can move on the next layer/step within minutes. I literally finished this project from start to finish in less than an hour! By the time I had my Red paint color washed out of my brush and dabbed dry, I could move on to the next step.
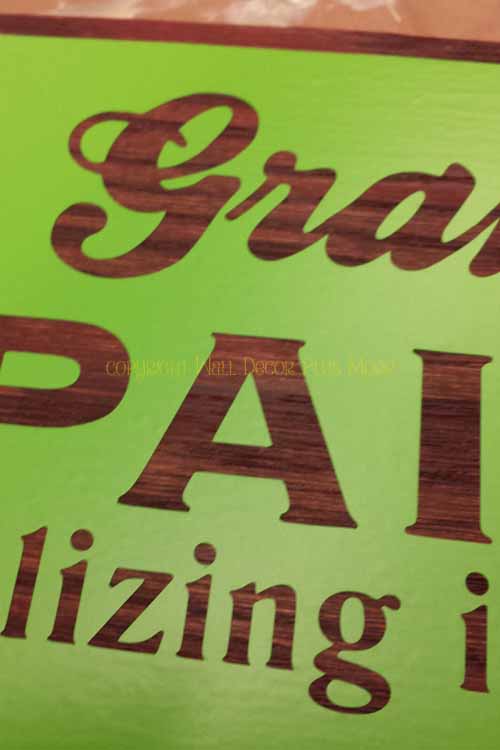
Painting the lettering on, I tended to brush so much I ended up with very little paint left. Since the design has wording (and some of it pretty small) I knew I had to have the lettering stand out enough to read it easily. So then I didn't want the paint to be "barely there" and render the lettering barely read-able.
Each design will be unique so use your judgment on how much paint to put on.
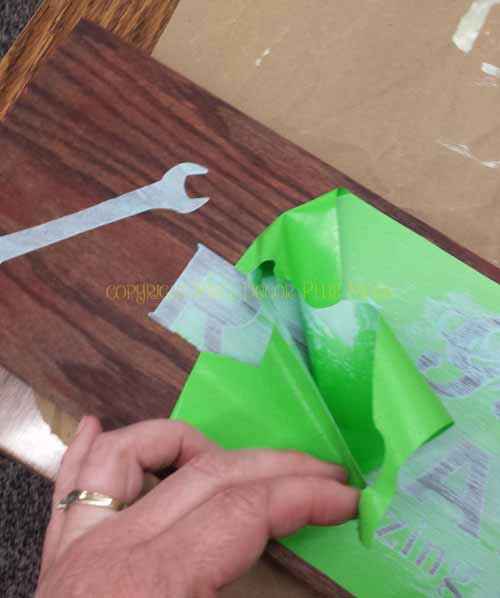
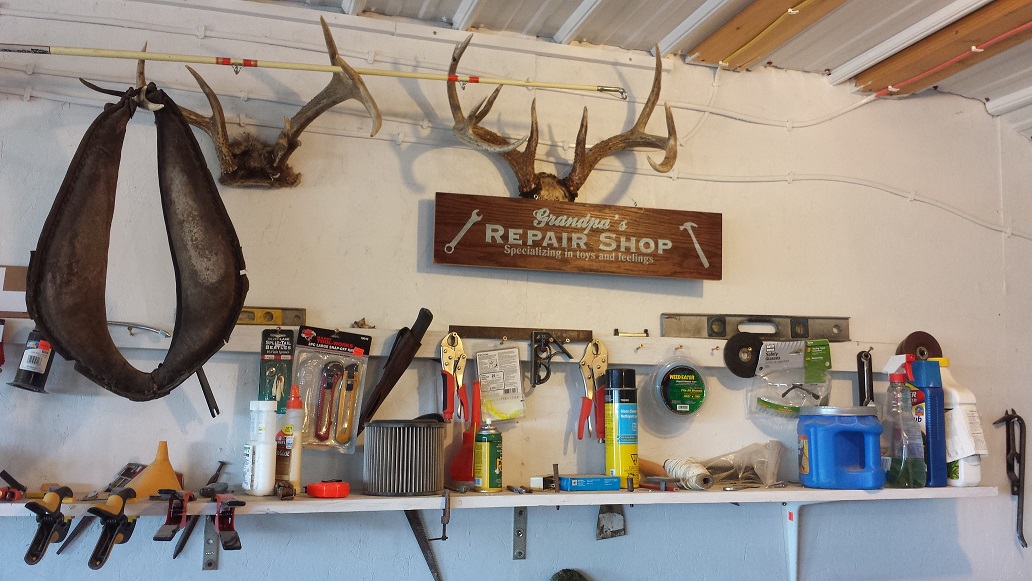
The REVEAL - remove the vinyl sticker stencil and discard. Be sure to remove all the middles and centers.
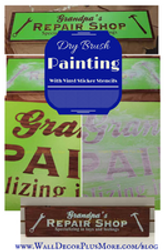
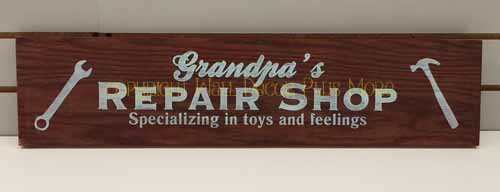
And the end product was PERFECT - Grandpa's Father's Day gift just a week late! =)

