
Wall Decals and Stickers on Newly Painted Walls - Decorating Tip You Must Read!
Posted by KM Ymker on Nov 14, 2015

At Wall Decor Plus More, we want to keep you up-to-date on the latest technologies in home decor, so our customer experience is the best it can be! We have compiled a few potential issues that may arise for you when applying wall decals & stickers to your walls.
1. Allow Proper Cure Time
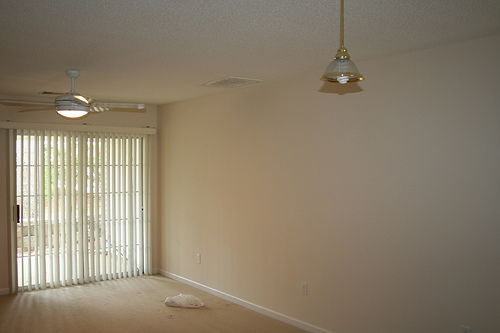
Please make sure the surface is dry and clean. Temperatures should be between 50 and 95 degrees. If the walls have been painted recently, wait at least 2 weeks before applying the wall decals to allow the paint to cure properly.
Paint needs to “cure”, or settle into your drywall, to complete the drying process. As it cures, it lets out gases. A few weeks dry time gives the paint time to fully cure, settle into your drywall, and let out all of those gases. If you apply the decal earlier than that, you likely will have a really hard time getting it to adhere. It might even fall off of your wall as the gasses in the paint behind the decal try to get out.
Regardless of what paint you select or what wall you apply your decal to, make sure that you remove the decals from their packaging and lay them flat before you apply them. If possible, we recommend that you let the decals sit flat for 24 hours before application. Once you’ve done that, please make sure to rub the decal to your walls really well when you’re applying it. Don’t forget to slowly peel back the application tape, too! Little spots might not want to come off of the tape immediately. Just put the tape back down, rub over that spot again, and continue peeling back the tape. It should come right off!
2. Low VOC Paint
According to 3M, a vinyl material manufacturer:
Paints that are low in Volatile Organic Compounds (VOCs) are now the most commonly available wall paint. These newer paint formulations are being driven by laws intended to help protect the environment – something we can all appreciate. However, the new paint formulations have reduced how well a film's adhesive can adhere to a painted wall. Because the paint formulations are protected by trade secrets, it is difficult for any film manufacturer to understand how film adhesives interact with these paints.
Low VOC paint is supposed to repel fingerprints and smudging. If your new paint advertises this, you may want do a faithful surface clean before applying your wall decals and stickers.
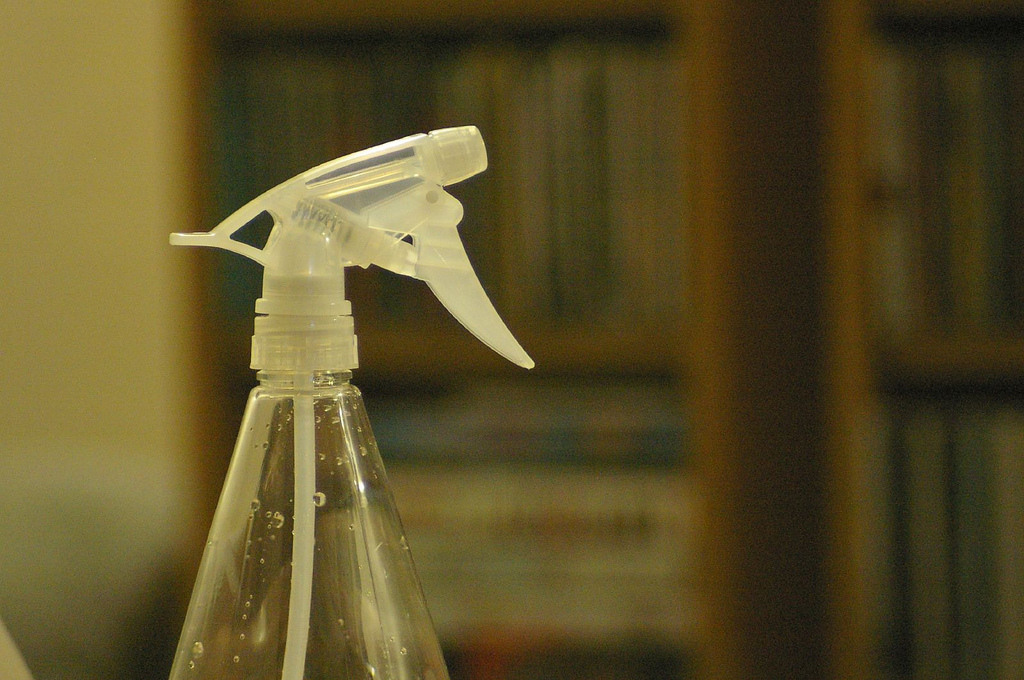
The recommendation to bypass this pesky problem is a thorough washing of your wall or surface.
Researchers at 3M have found that cleaning the wall TWICE with a mixture of 70 percent isopropyl alcohol (IPA) and 30 percent water can significantly boost adhesion for nearly any wall film applied to a painted substrate.
Caution! First, test a hidden area of your wall with this cleaning mixture. We do not want it to take off your new paint or the paint sheen! Lastly, wipe off this newly cleaned area TWICE with just water.
3. Paint Finishes
Our decals apply best to walls painted with Matte or Flat paint finishes. However, we’ve personally applied decals to walls with finishes that like Satin and Eggshell with little to no problem! Walls painted with paint that has a Semi-Gloss finish make decal application slightly more difficult, but it’s definitely not impossible! This paint type will just require a little more time and effort during installation to get your decal to adhere properly. Our decals may not like walls painted with High Gloss or Glossy finish paint.
One customer was quite upset that she wasn't able to get her wall decal letters to stick to the wall. Here are the steps we talk through about the wall decal to understand what the issue might be.
Question 1: What decal are you trying to put up? She was putting up the White Thankful for Laundry Wall Decal Quote. This wall decal has LOTS of letters, some tiny; so this wall decal design will certainly take more patience than a simple design, like our Be-You-tiful wall decal
Question 2: Are your walls textured? This is a very common problem with wall decals. Textured walls DO make application more difficult! See below for more details. Check out our video here to see a little bit of the difference. Our customer said NO she has smooth, untextured walls. This was a surprise, as I almost always assume the wall decal difficulty comes from textured walls. - (which is WHY I am sharing this post with you =))
Question 3: What type of paint and how long ago did you paint? Her walls were a flat eggshell paint and it had been painted years ago. So this was the issue at hand. Eggshell flat paint is more porous. Porous is not something you generally see. Having more pores means the wall decal has less of a solid, uniform surface to adhere to.
Now you all want to hear the solution, right?! There were a few tips we shared with the customer.
Solution 1: Let the decal sit for an hour and allow the decal to become adhered to the wall surface.
![]()
Solution 2: When using a squeegee, press down at the same time as you are pulling the tape over top of the squeegee. Also peel the tape off in small sections, not the whole piece at one time.
Solution 3: Heat the wall decal gently with a hair blow dryer to soften and activate the adhesive.
As the customer was uncertain at this point if she was going to be successful, she said she would check back with us. An hour later, she called back = SUCCESS!! Of course, I had to ask her which tip did the trick. She said #2 but since she didn't have a squeegee on hand, she used a firm hardcover children's book.
Read more about paint finishes here.
4. Textured Surfaces
Our wall decals stick quite well to texture.
We have a rather thick layer of orange peel texture on our walls in the
shop and none of our decals have peeled off or fallen off. But, it will take time and patience to put wall decals up on textured walls. Repeat: TIME AND PATIENCE
Here is a blog post with videos comparing smooth and textured walls that may be helpful to you!
If your transfer tape is problematic when removing; leave the transfer tape on for an hour and come back. This will allow the decal to create a bond with the wall surface. Also when applying a decal to a bumpy or textured wall, you can use a hair blow dryer to VERY LIGHTLY heat up the adhesive; which will help mold the decal to the bumpy surface. WARNING: high temps will shrivel the vinyl decal
We offer a FREE vinyl wall sticker tester that you can add to any order. We would recommend using this Free Tester to be sure you understand how our wall decals and stickers work and find out for certain how nicely they apply to your walls.
Please let us know if you have any questions or concerns about applying your wall decals & stickers! We are always glad to help if you have any questions or concerns!